-
Travel Blog: How To Start, Build Your “Tribe” and Monetize Successfully
So you are wondering about your first ever travel blog: how to start, reach first readers and eventually earn money to travel long-term like digital nomads? This post is for you! My piece of advice: Don’t pay too much time for travel blog name generators and try to get a domain and server in early weeks. Let’s get deep to the core: Travel blog writing, because it is useful travel blog posts that people visit your website and become loyal readers (Come on, don’t be a travel blogger without a single fan but your mom, it’s solitude!) Best Tips For Travel Blog Writing So I finished a very book on writing (Copywriting: Successful…
-
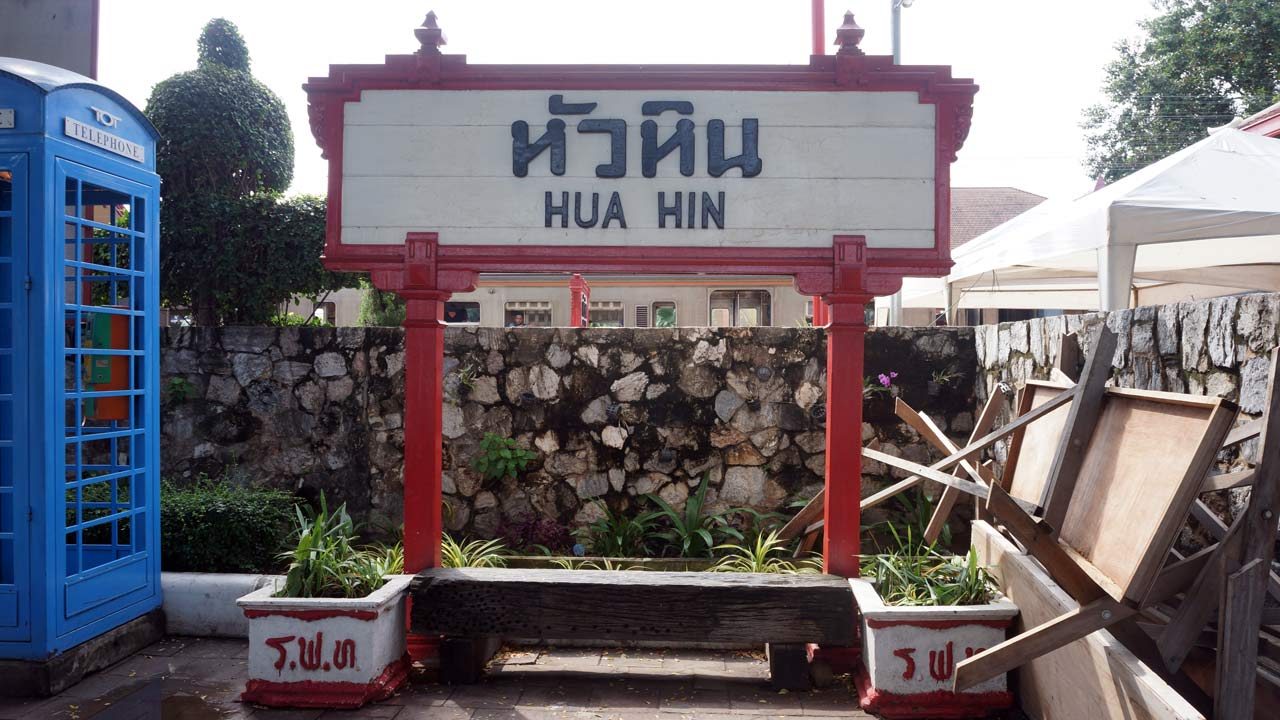
How To Travel From Hua Hin To Bangkok By Bus, Train, Car And Plane
For the trip to Hua Hin to be fulfilled and comfortable, all the travelers should know clearly how to travel from Hua Hin to Bangkok (or from Bangkok to Hua Hin) to save some traveling costs or time. Here are some tips you can all refer to. The distance between Bangkok and Hua Hin is about 90 miles. To move from Hua Hin to Bangkok and backward, you get numerous choices of means such as by bus, by taxi, by train or by plane. But you must be wondering which is the best and the most suitable choice for your trip? 1. By bus/minibus Buses are the least expensive means that…
-
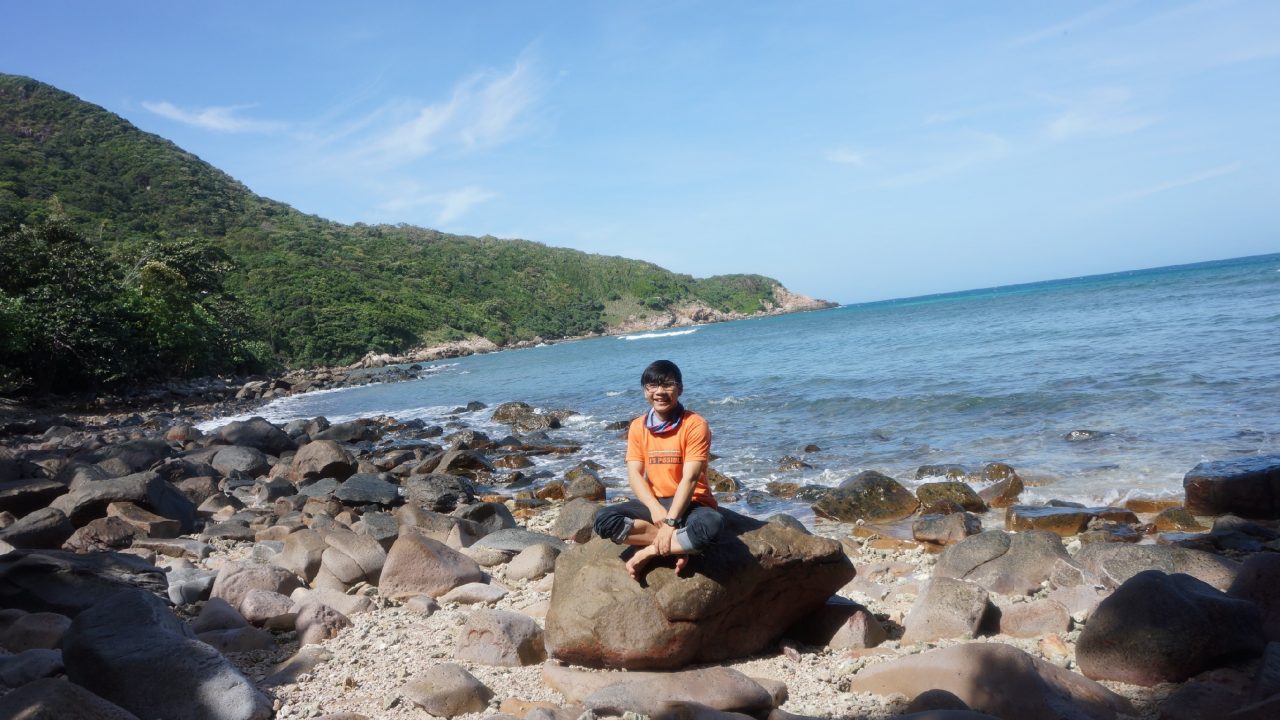
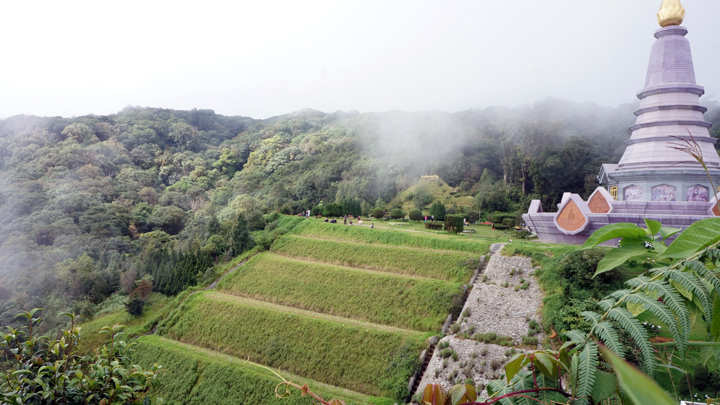
Best Hua Hin Itinerary For 4-Day Trip
Are you looking to visiting Hua Hin in your 4-day trip? It’s quite difficult to discover it all but Hua Hin is a really great destination for any traveler. Here below are best Hua Hin itinerary recommended for your information. Hua Hin is a famous tourism spot in Thailand. It’s not so large but owns a lot of landscapes, historical places, sea activities, food, traditions… that it must take very much time to see it all. Therefore, if you concentrate on this itinerary below, your trip will be fulfilled somehow. Hua Hin is a beach town lying to the south of Thailand with tons of things that definitely surprise you at…
-
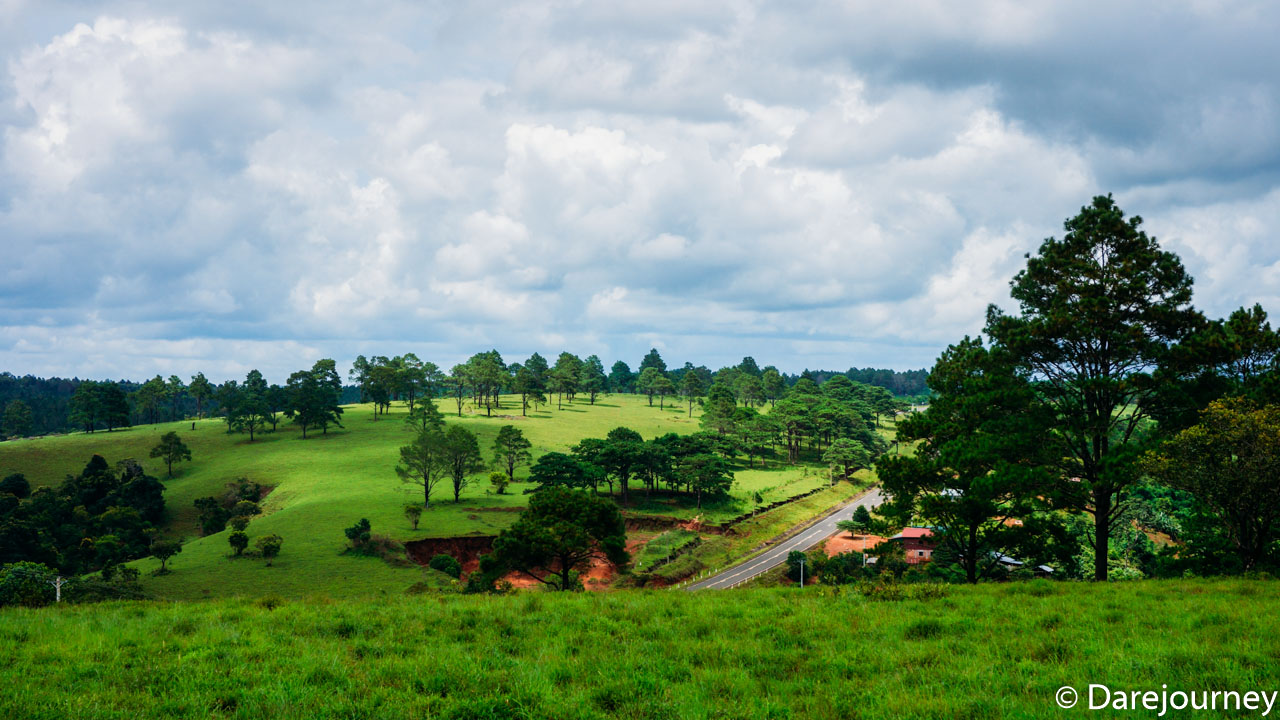
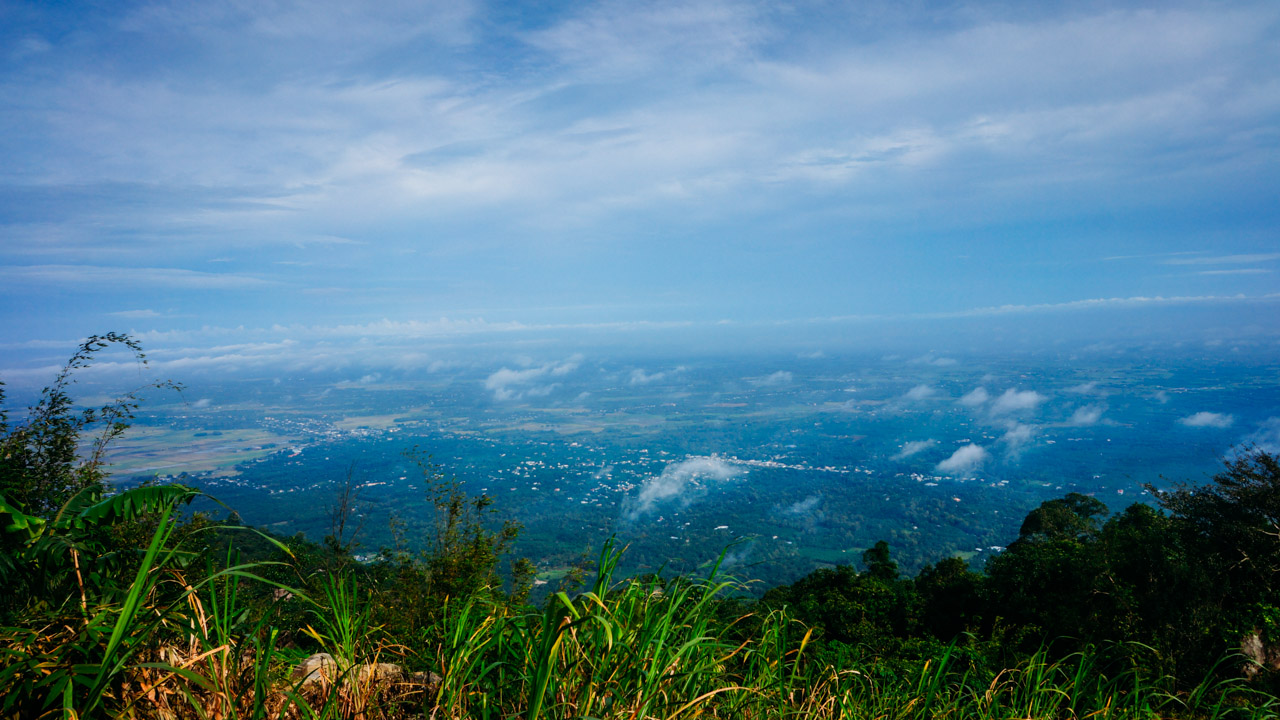
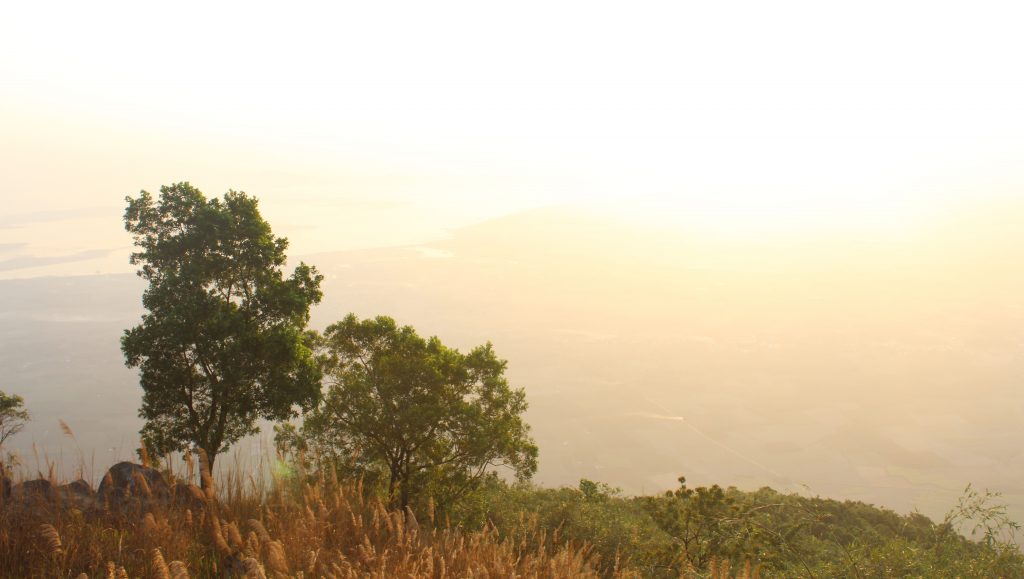
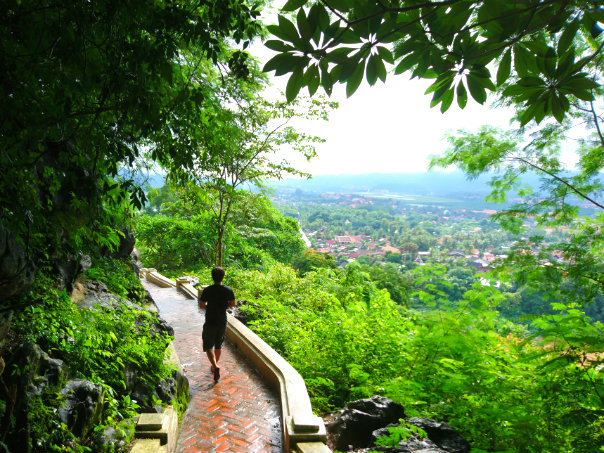
Mondulkiri Photography tips: The pine hill
Photography is one of the reasons why people love travel. It is admittedly that people have to pay a chunk of money to travel to a incredible destination, why don’t they have a stunning album to show off to boast our journeys? However, most of us are amateur shooters and photographs are just for beautiful memories, the landscape is picturesque but through our lens, it looks so ordinary, not as subtle as ones captured by professional travel photographers. This post won’t turn you into a super photographer overnight, but possibly improve your shooting skill. The shooting field location is not included so that you will focus on how to shoot perfectly…
-
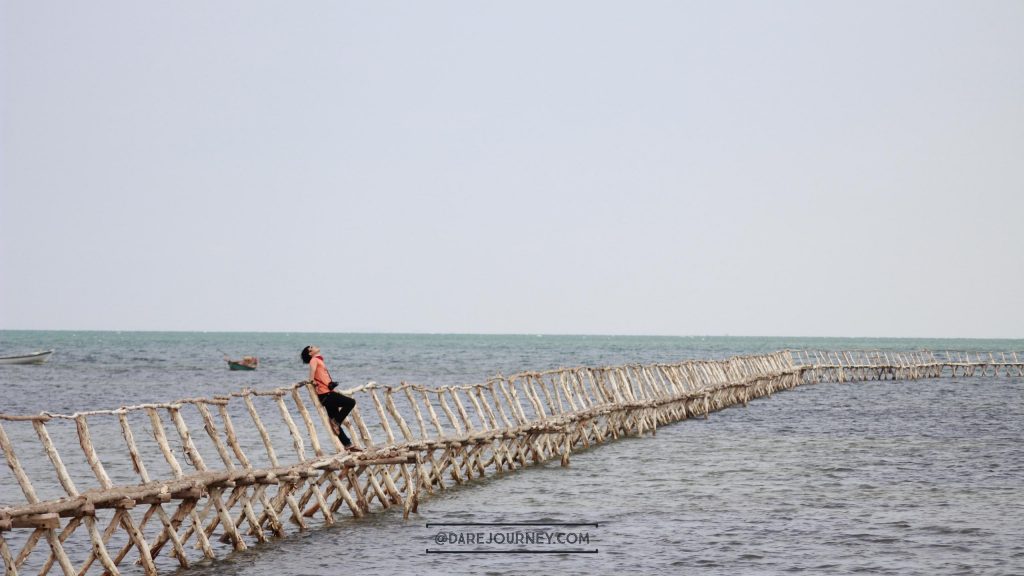
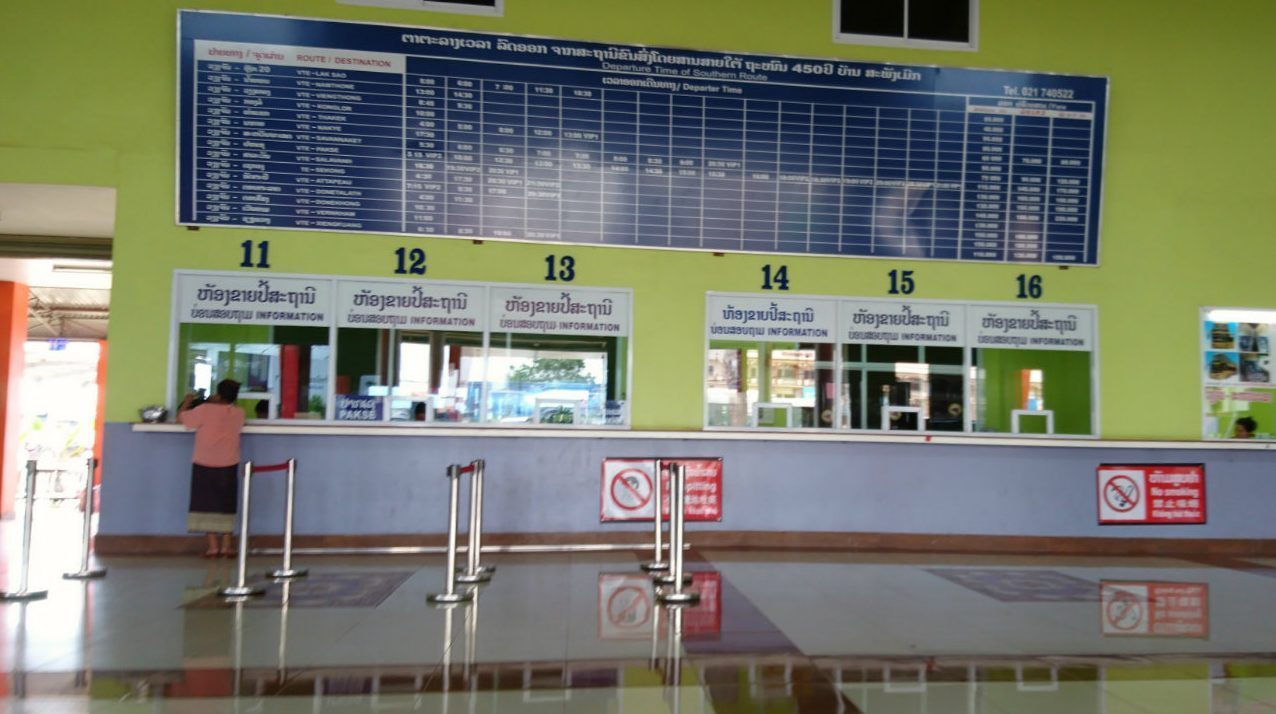
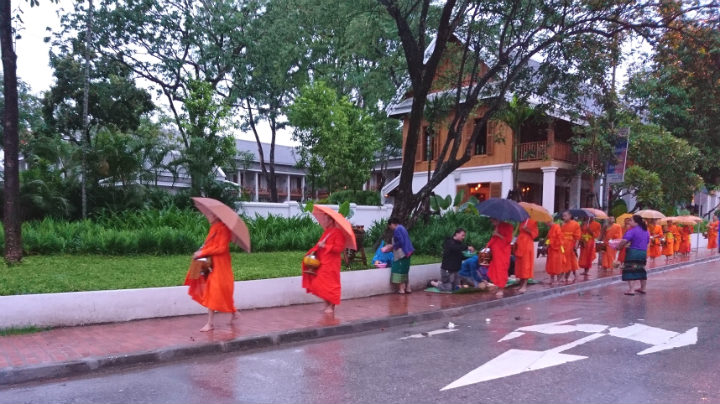
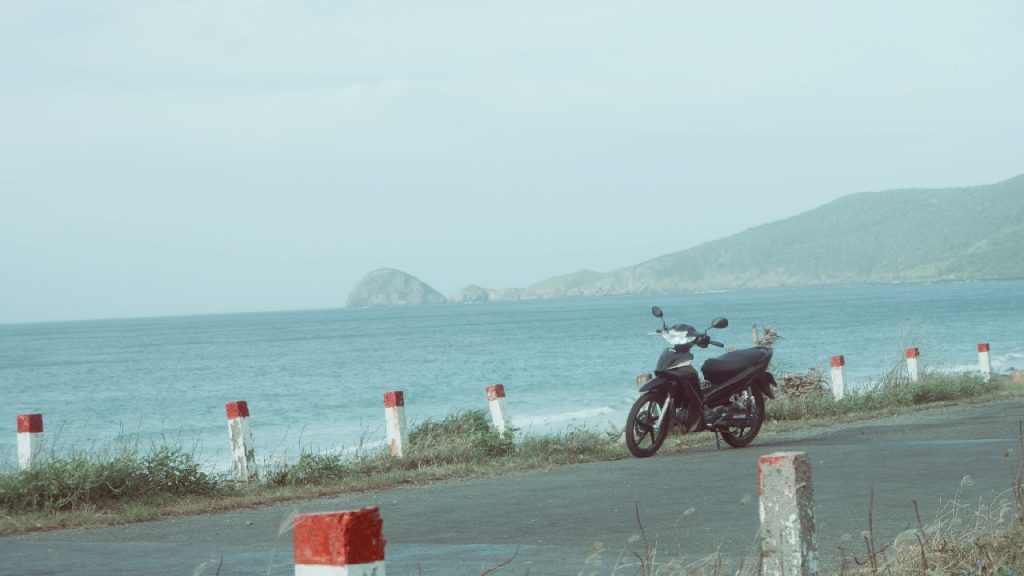
Travel by bus from Ho Chi Minh city to Vientiane, Laos
I’ll note some quick information for travelers who wish to travel from Ho Chi Minh city to Vientiane by bus. The bus will depart at Ho Chi Minh city, go through Hoa Lu border checkpoint (Vietnam) and spend a half day in Cambodia, until they reach Stung Treng border crossing station to Laos. The on-bus time is approximately 28 hours. Bike transportation will very harsh, so it’d better take a bus to Vientiane and rent/buy a bike to travel across Laos. I saw many ads selling bike mostly everywhere in Laos, most of them are from Vietnam. Okie, this is the main point: We only found ONE bus driving DIRECTLY…
-
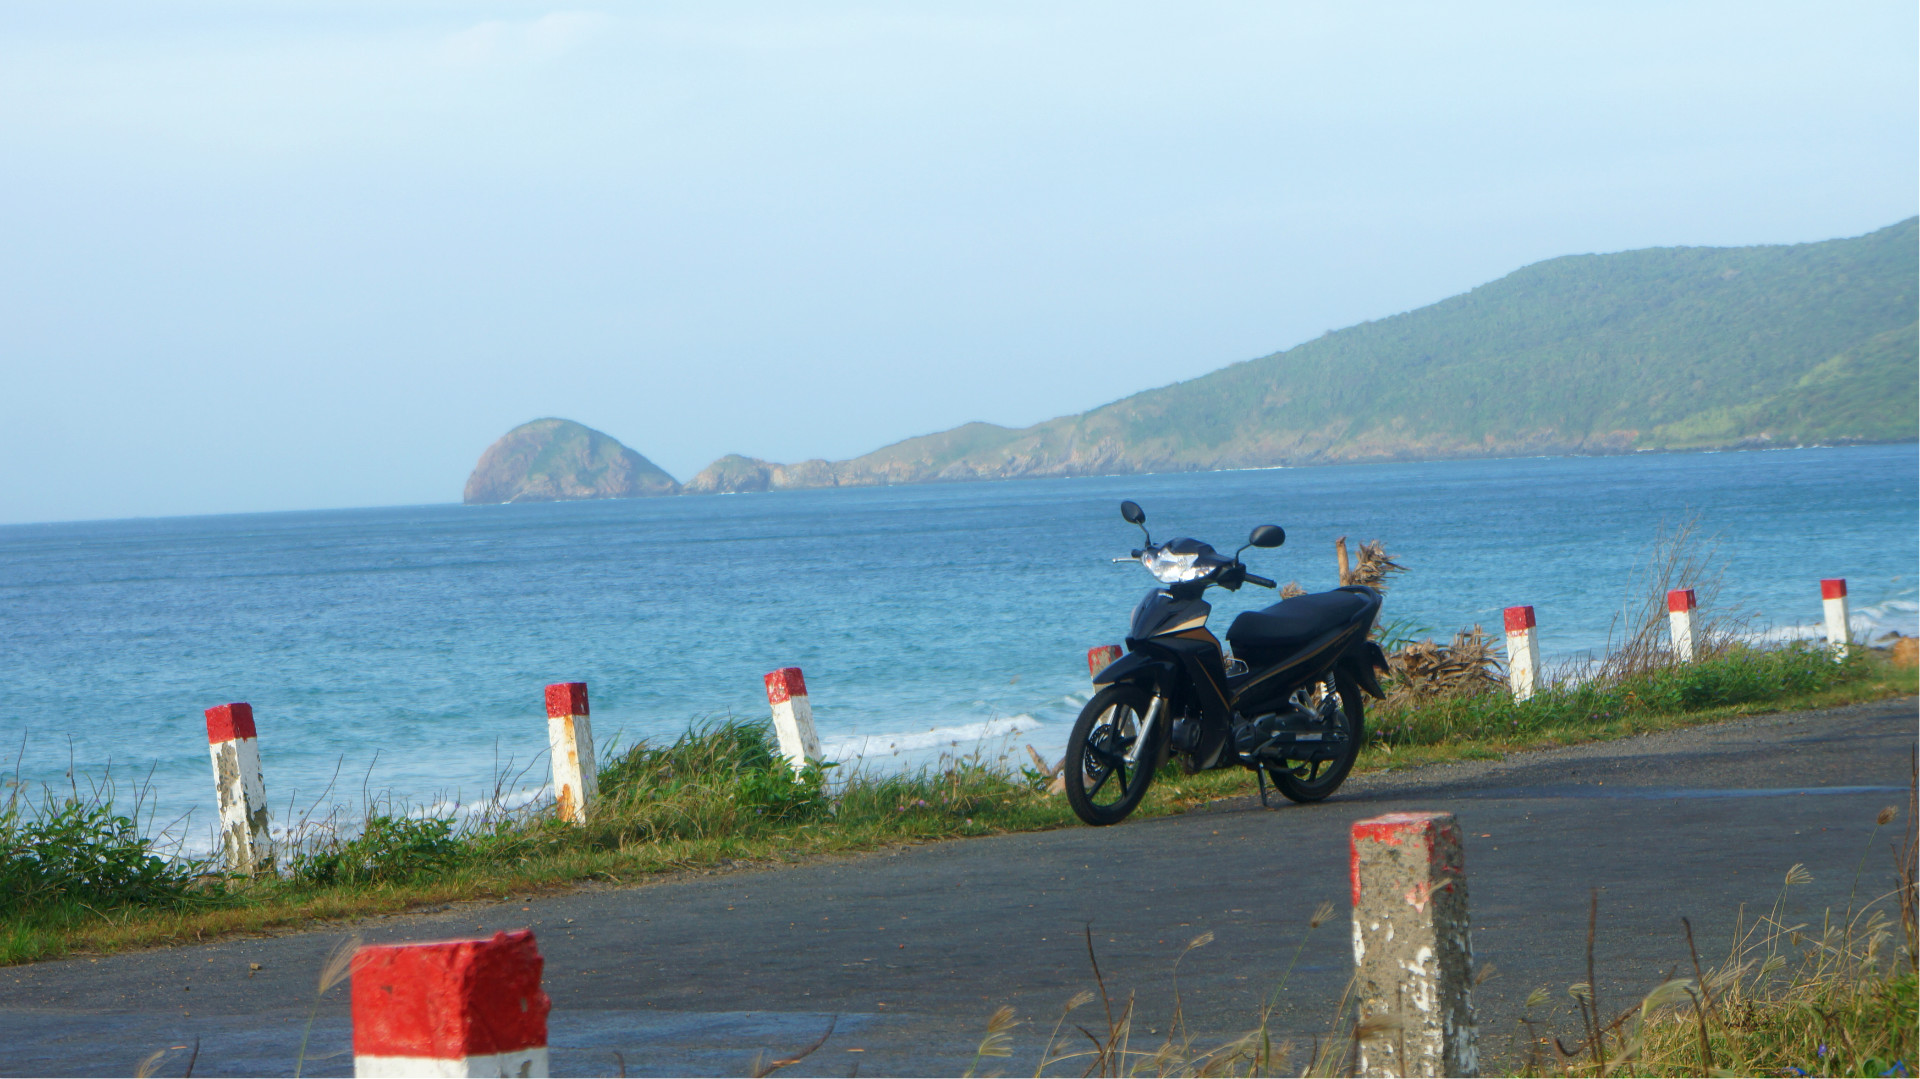
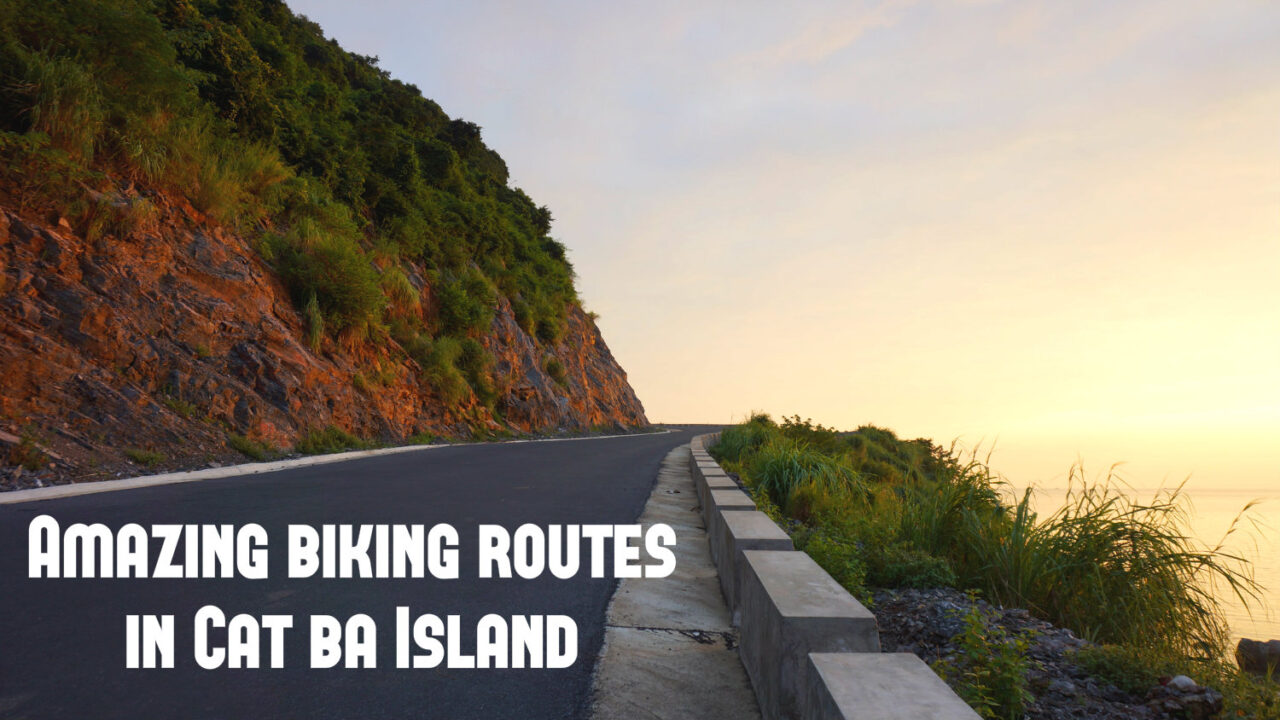
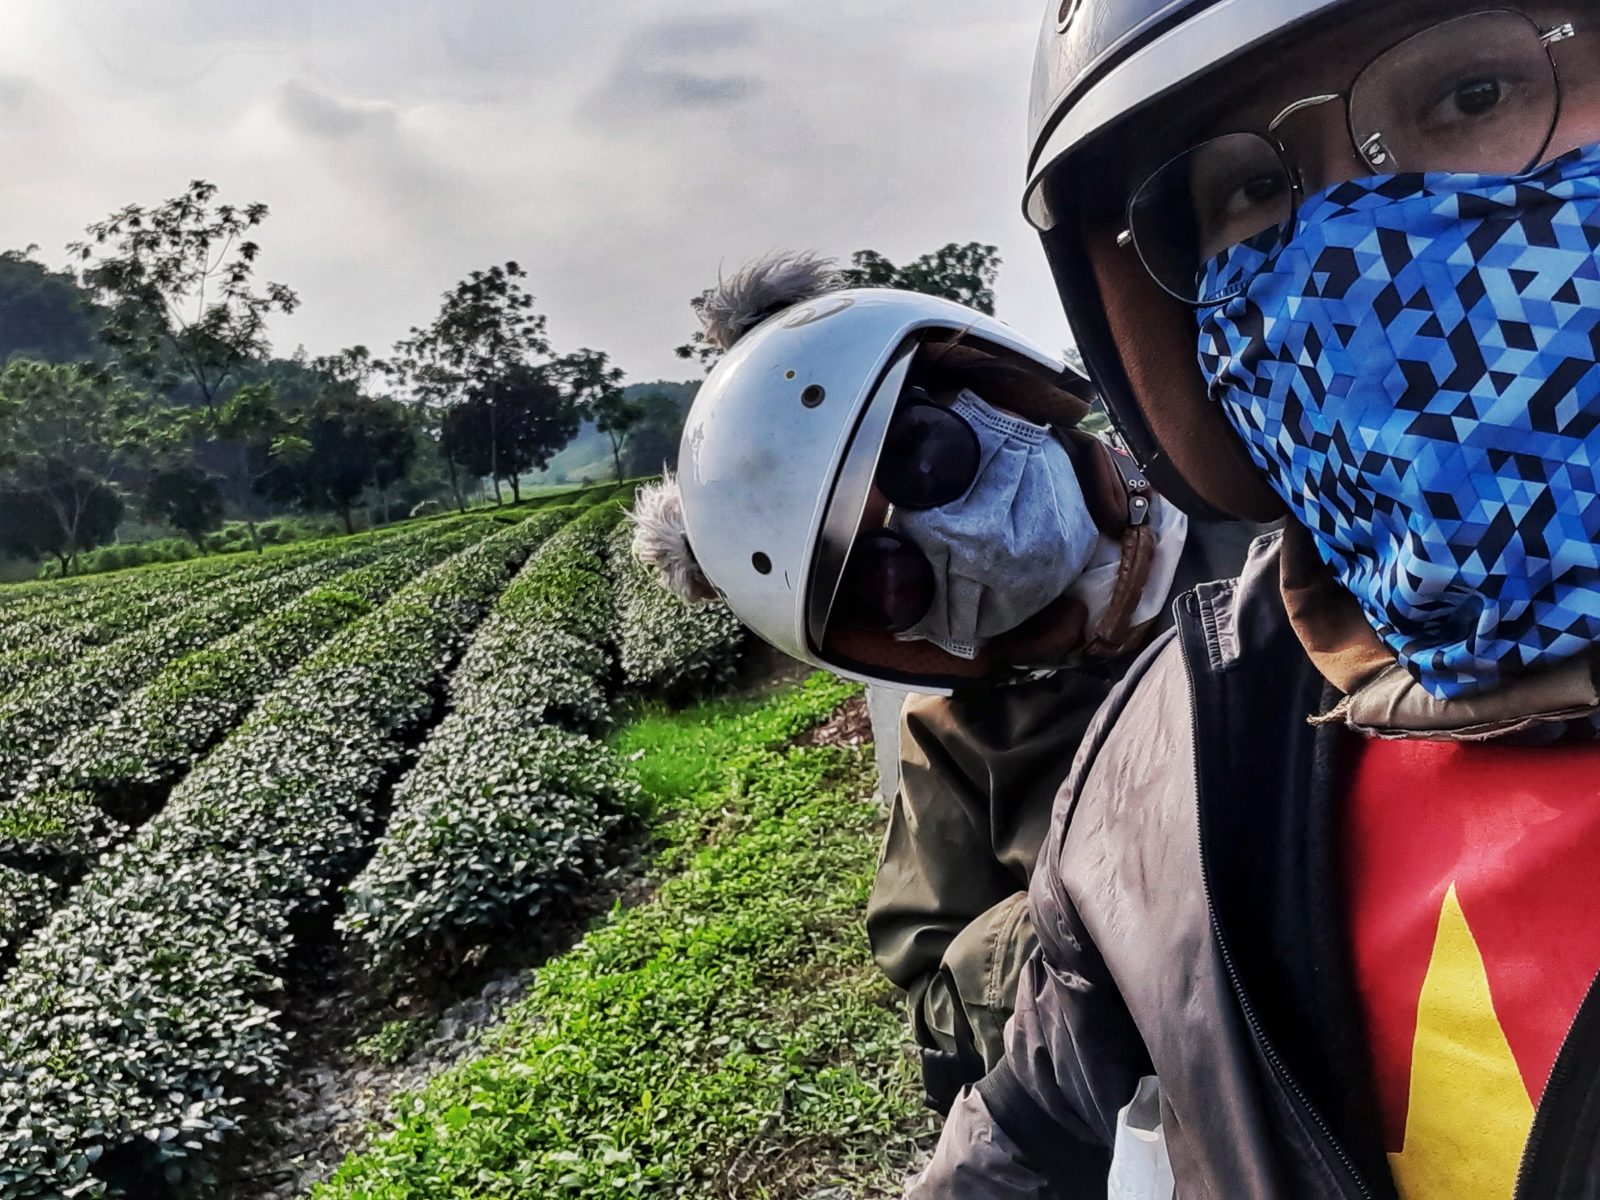
How to check your motorbike before and after the road trip
Biking with our own bike is the best but sometimes we have to rent bikes to travel around so these quick bike checking tips may help you enjoy the biketrip more safely. 1. Engine The engine is heart of motorbike. So it deserves to check first. A good engine brings you a beautiful roadtrip experience. These below checks should be done: – Good ignition from electronic starter and pedal ? – The engine sound good, fume clear? – Locate the spark plug and check it still good. – Motor lubricant is fresh and enough? *Let bike run in 2-5 minutes to check for any abnormalities. 2. Wheels Good wheels keep…
-
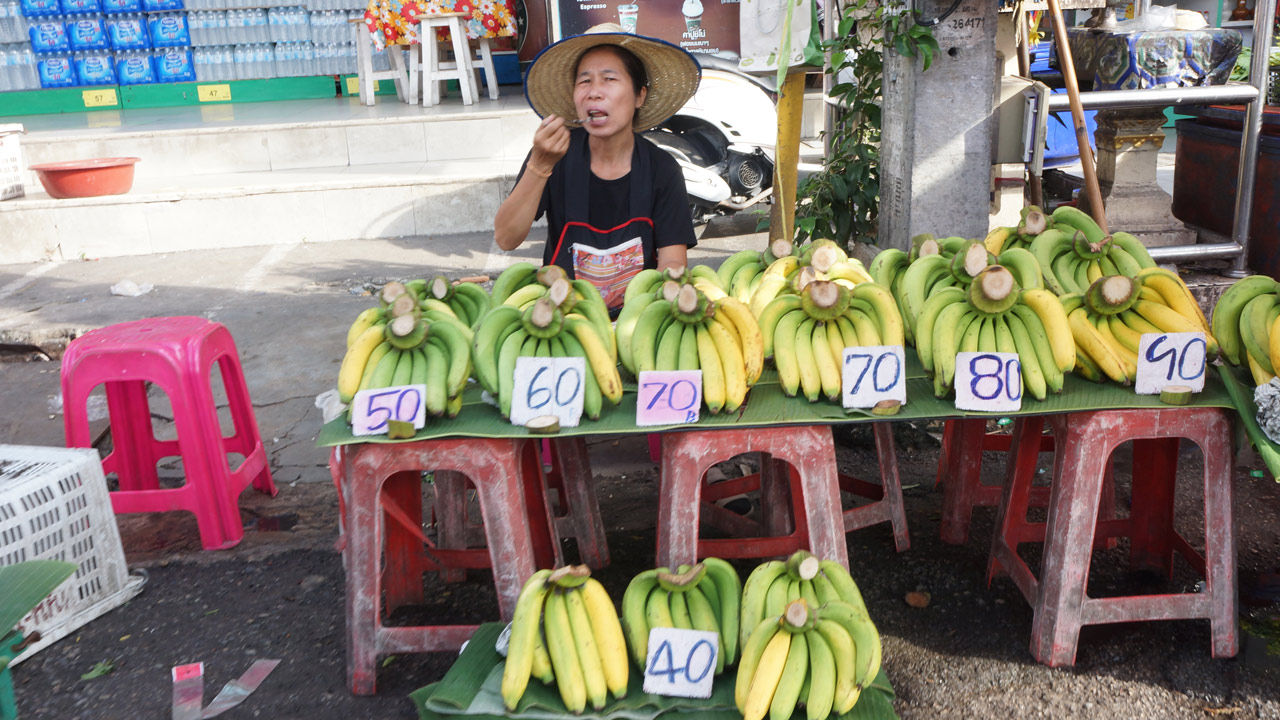
Ultimate Bargain Tips to Save You Travel Money
Bargain is simply like a game of negotiation, where you take advantage of all reasons to down the price and enjoy the victorious feeling somehow. Some tips for you to win the seller in markets: 1. Is it bargainable? Try to bargain in a fix-price supermarket is a useless idea, so you can ask whether sellers accept bargaining. Most countries in southeast asia allow bargain as a culture. 2. Half-price/ wholesale price The very first price seller give you worths a fortune, mostly. You can estimate these stuffs by comparing to similar ones in your hometown, by your instinct, your buddies’ hints,… then bargain for it, Another way I usually…
-
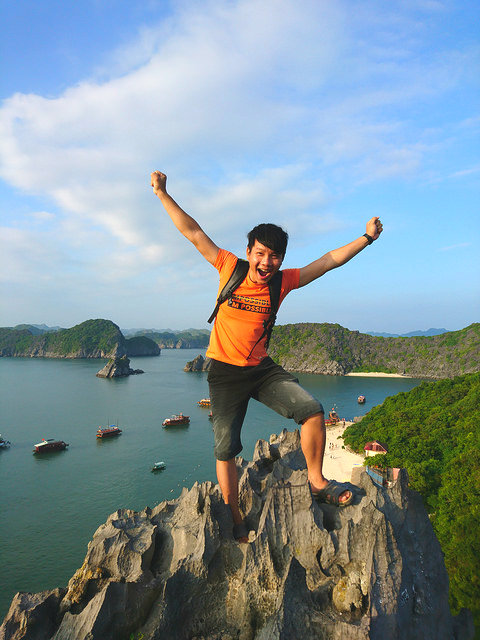
Ultimate packing tips for travelers
Warning: These simple packing tips may save you tons of time and frustration ! Travelling is awesome, but exhausted, especially when you have to change constantly hostels to hostels, these places to those places, on trains, planes or open bus,… And your “house” is your backpack. So if you know how to pack well then everything is easy. Otherwise, it’s hell when you have to put stuff in-and-out dozen of times (and sometimes forget something -> too bad). You will do this quite often so this is actually an important skill but few travellers admit. Whether you are beginner backpackers or travelling for years but never notice packing problem, this…
-
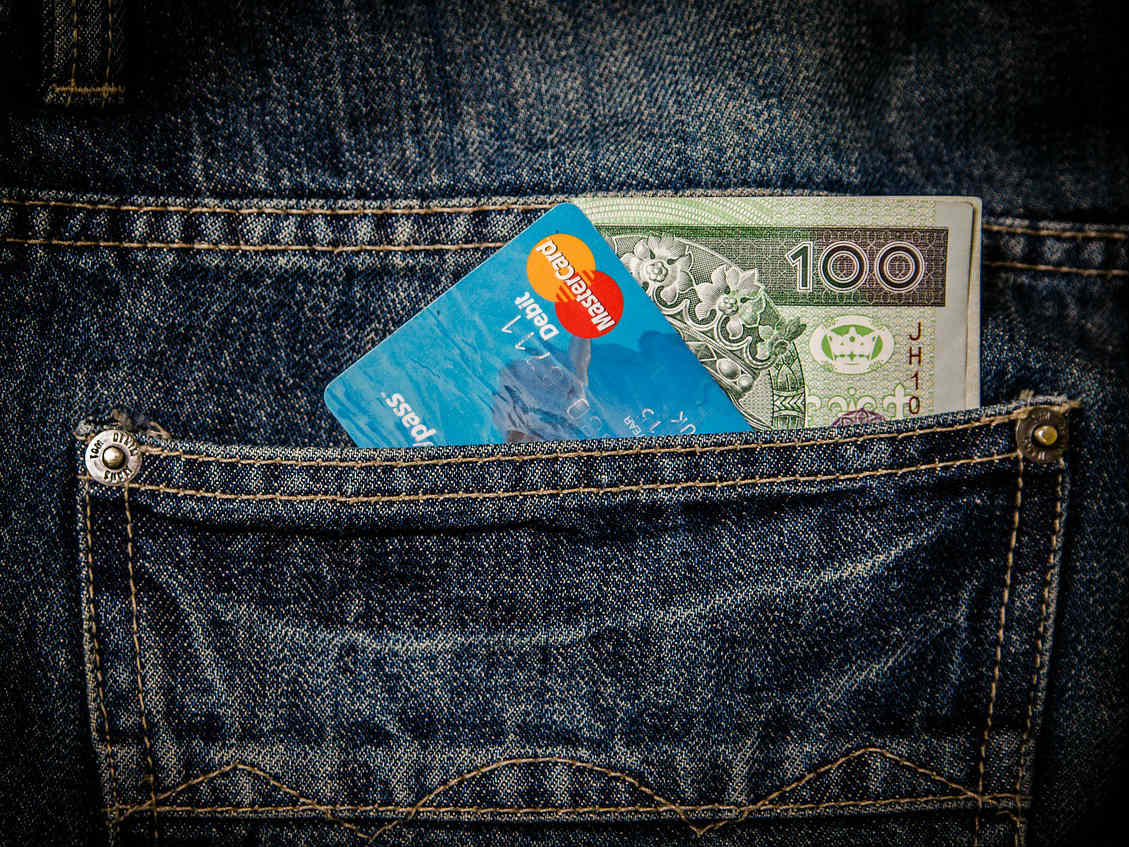
Money Matters When Backpacking Around The World
Read this carefully or you lose your value travel money on trips. Some basic concept you need to know Currency: Most of the countries have their own currency and you cannot use the other kinds of dollar there so you have to exchange your money (Vietnam law only allows people to use ONLY domestic currency (Dong) so the payment in USD is illegal). Some regions (like EU) use a common dollar, it’s quite handy because there’s no need to exchange money. You save not only time but an amount of exchange fee. Some countries where people accept multi dollars, you need to do research what kind of dollar can be…
-
Ultimate Backpacking Checklist: What-To-Bring Before Boarding Flights
These final checklist before boarding will be sure you get a well-prepared trip. Passport This is the most important document right? Indeed, when you just travel overseas. If you’re Vietnamese, you can summit for a passport for 200,000 dong and it takes one week, then you can receive at the office. Visa It depends on your target countries. If you travel to visa exemption countries then no need to add it to the list. For Vietnamese passport, you can travel around Southeast Asia region at no cost, except for Timor East. Credit/ Debit cards Remember to bring them because most of the time we can have quick money from ATMs.…