Blog
-
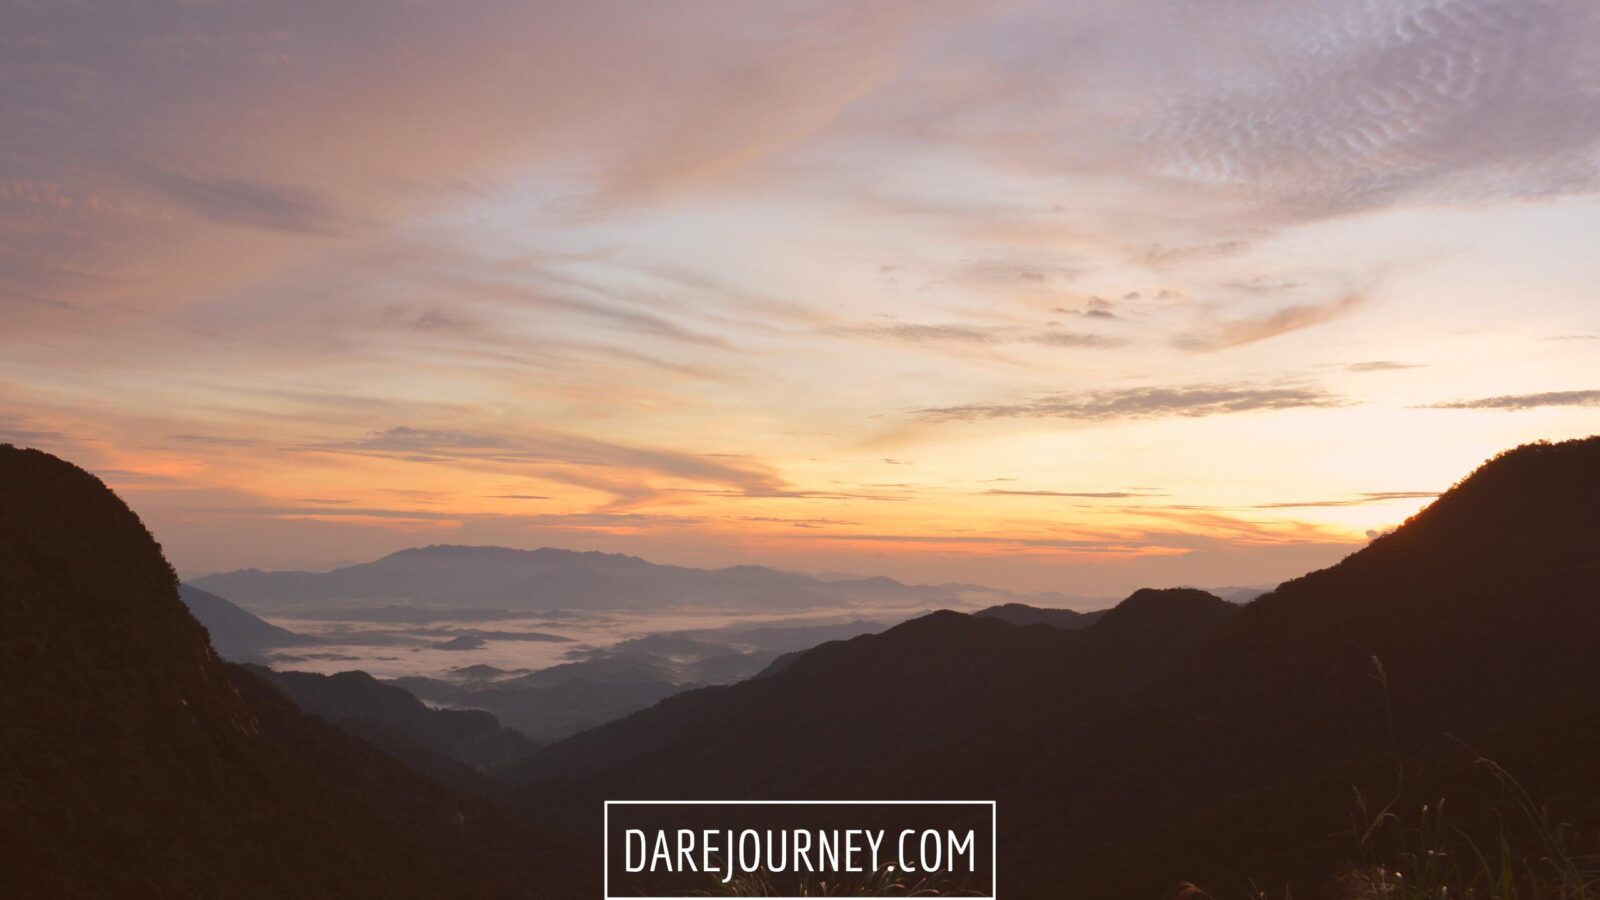
Ultralight backpacking gear guide for travel-the-world backpackers
Backpacker’s close friend is his/her backpacking gear , so decision of what to be with and what should be left is very important Why we should choose ultralight backpacking gear? It’s simply. When you backpack lighter, you have more energy to enjoy the journey! I used to bring my “whole home” on my back, nearly full of backpacking checklist. it contains a lot of stuffs and to be honest, it was heavy and quite inconvenient on road. At first, I thought many things would be useful in some cases, so I brought all of them. However, I soon found out that somethings could be used for multi purposes and somethings actually were possibly left at home…
-
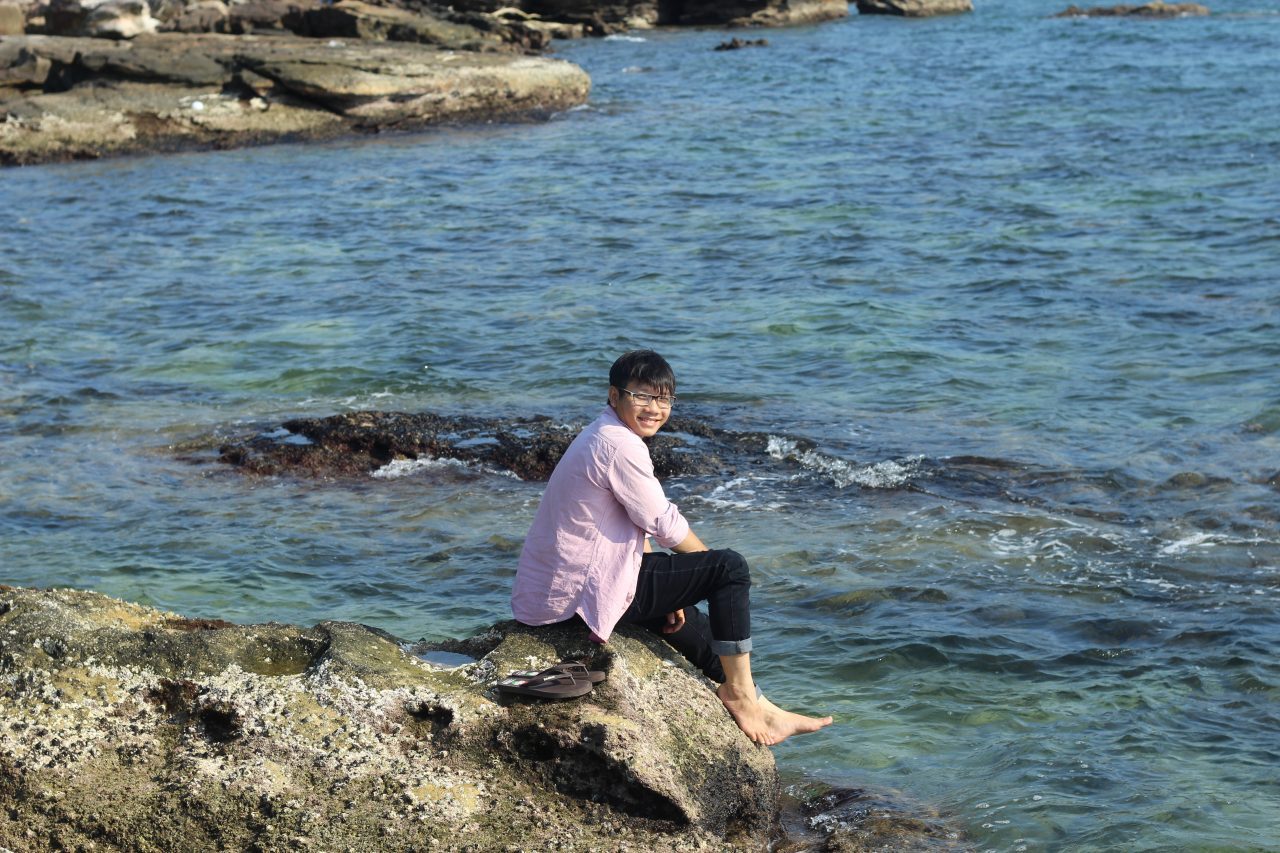
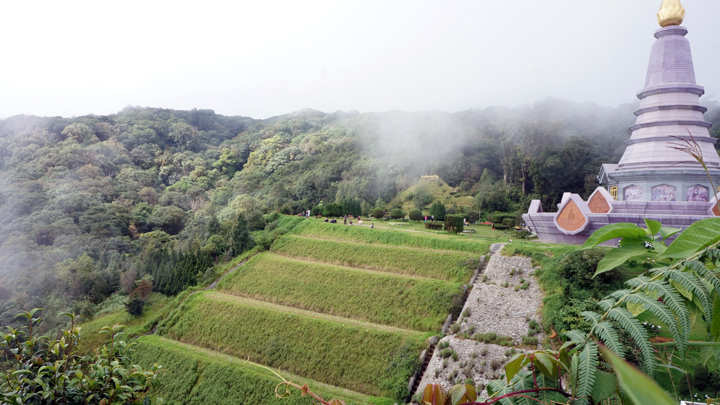
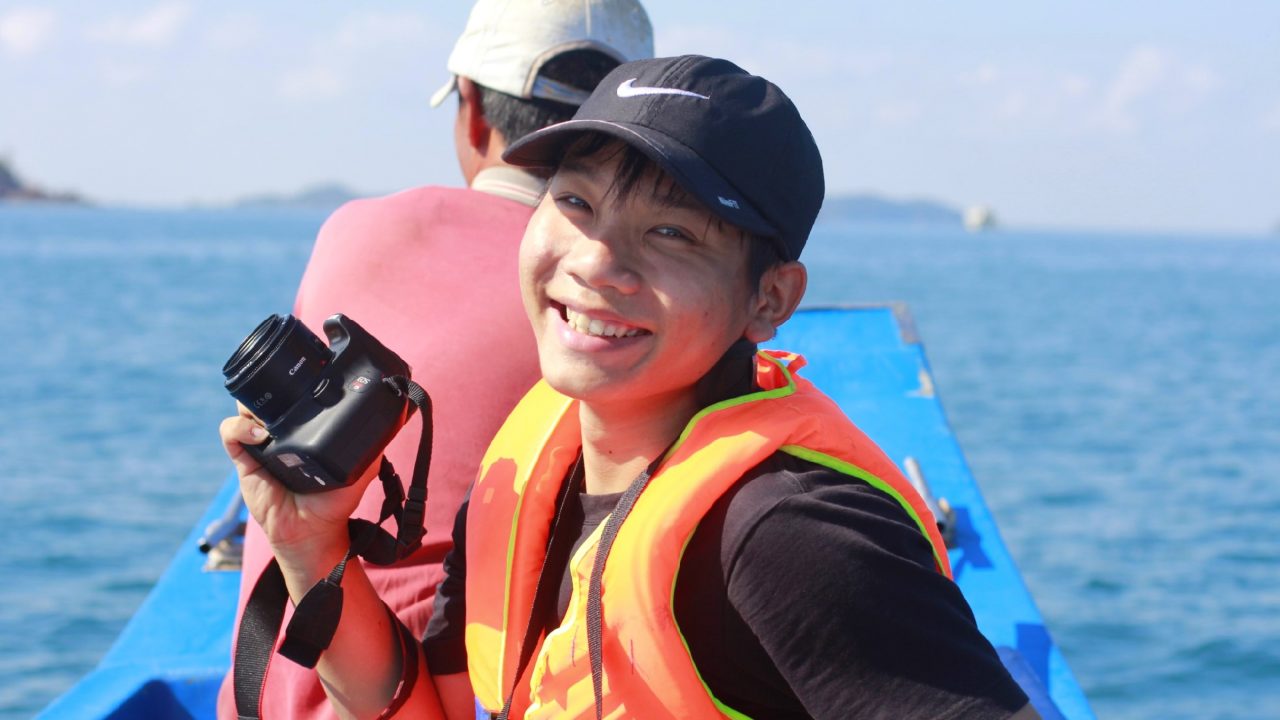
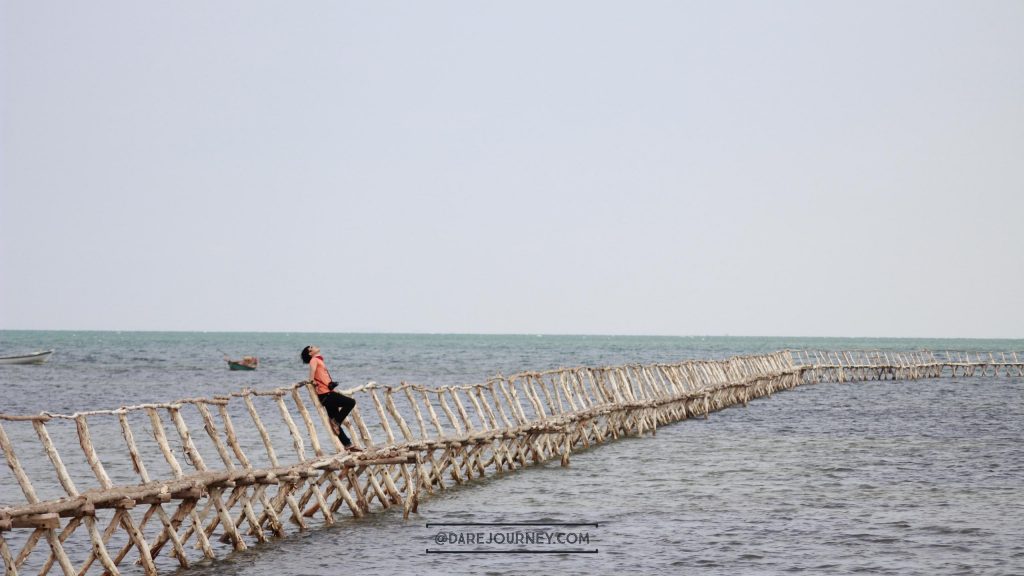
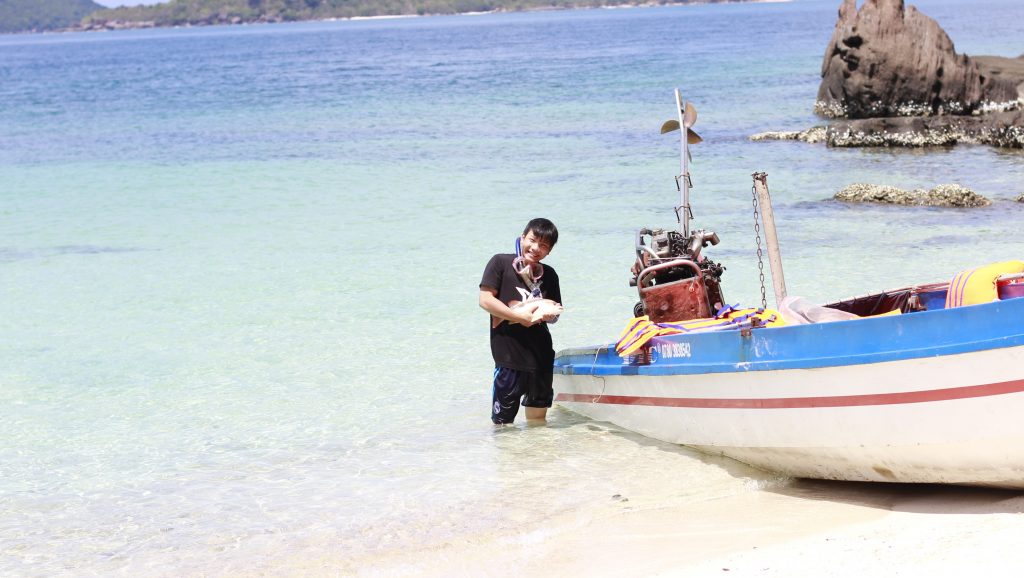
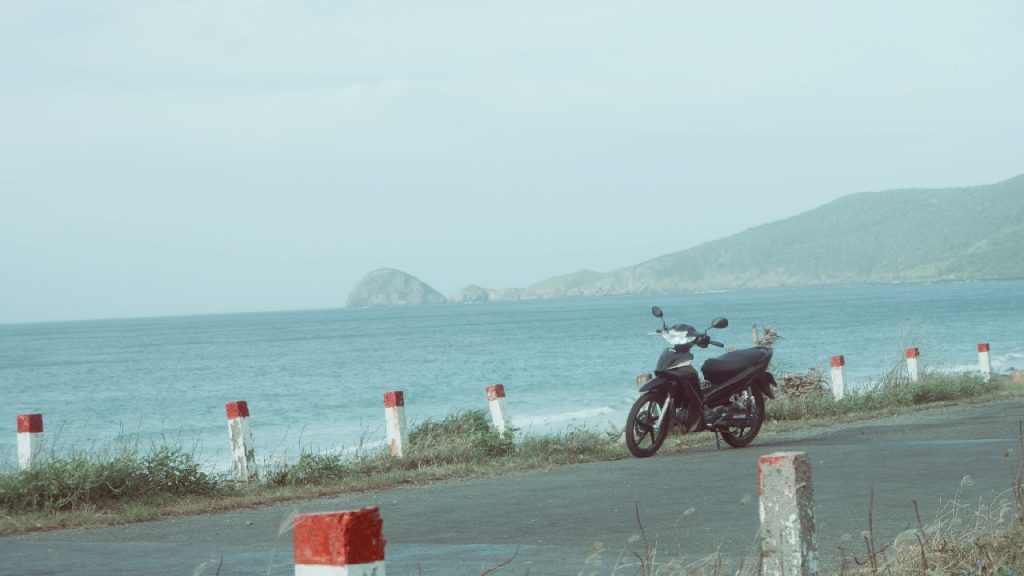
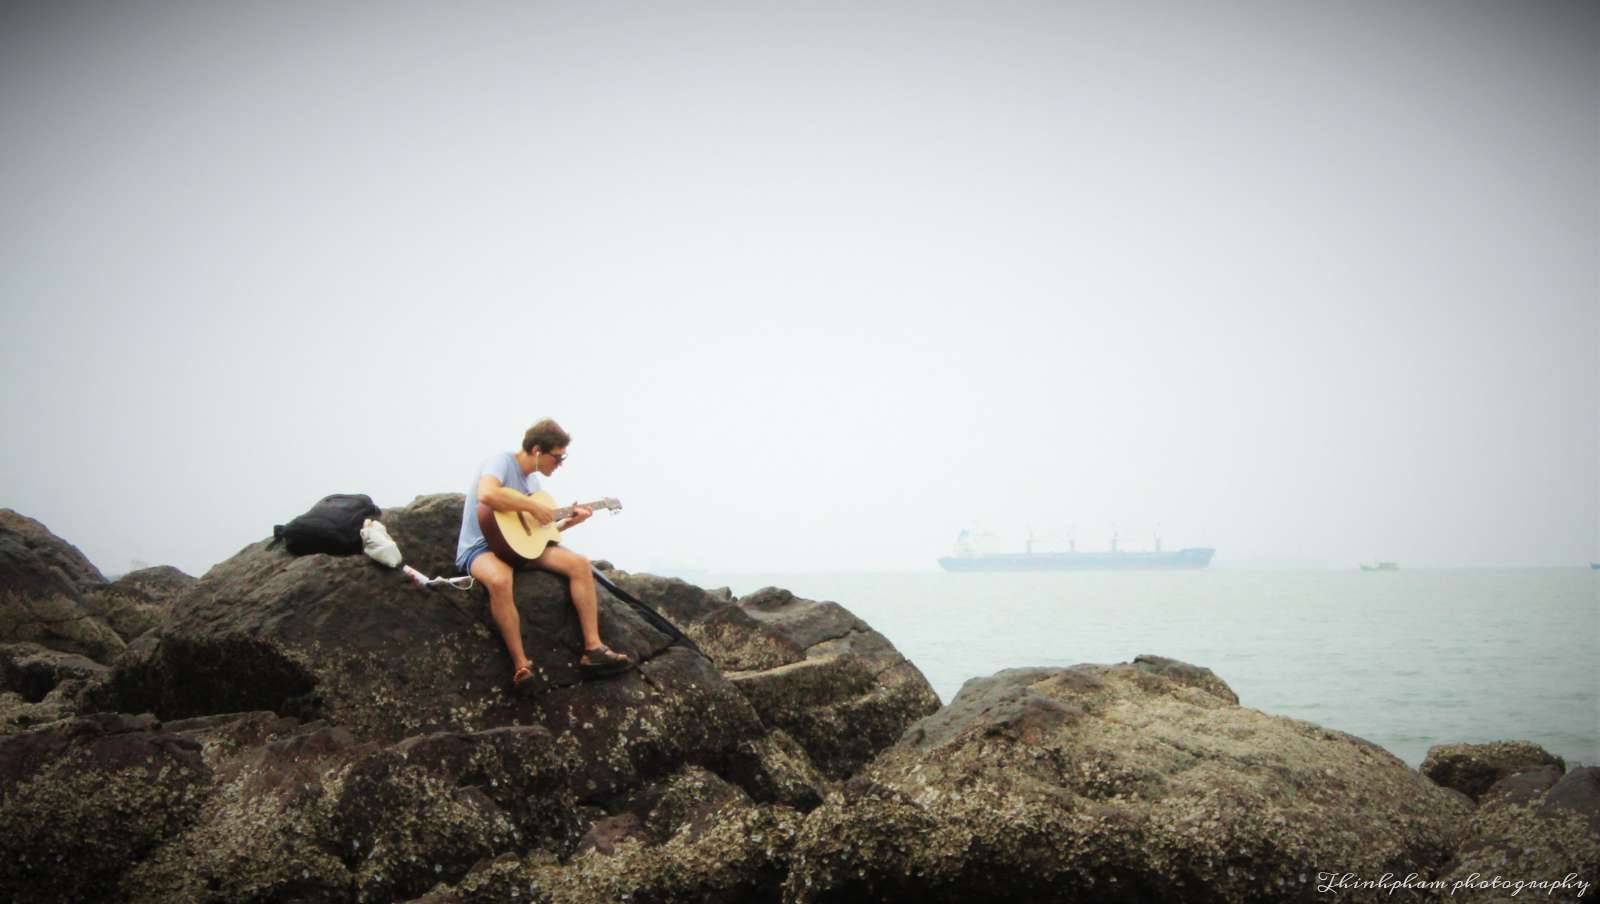
Phu Quy island travel guide
Phu Quy travel guide provides you transportation idea, things to do, travel map and also budget information for planning trip. Phu Quy, an island not two far from Phan Thiet – Mui Ne, a real unbeaten-track destination, still very pure scenery. Food is delicious and cheap, fantastic landscape. Totally it costs 1,000,000 dong/ 2-day trip. You won’t regret to be here ! Get in There’s only one way to reach the island: on boat. You should travel to Phan Thiet Harbour second-gate to buy the ticket and boarding. You can park your bike at a nearby house (ask local for overnight bike park), 5,000 dong/ day and 10,000 dong/ night. There are…
-
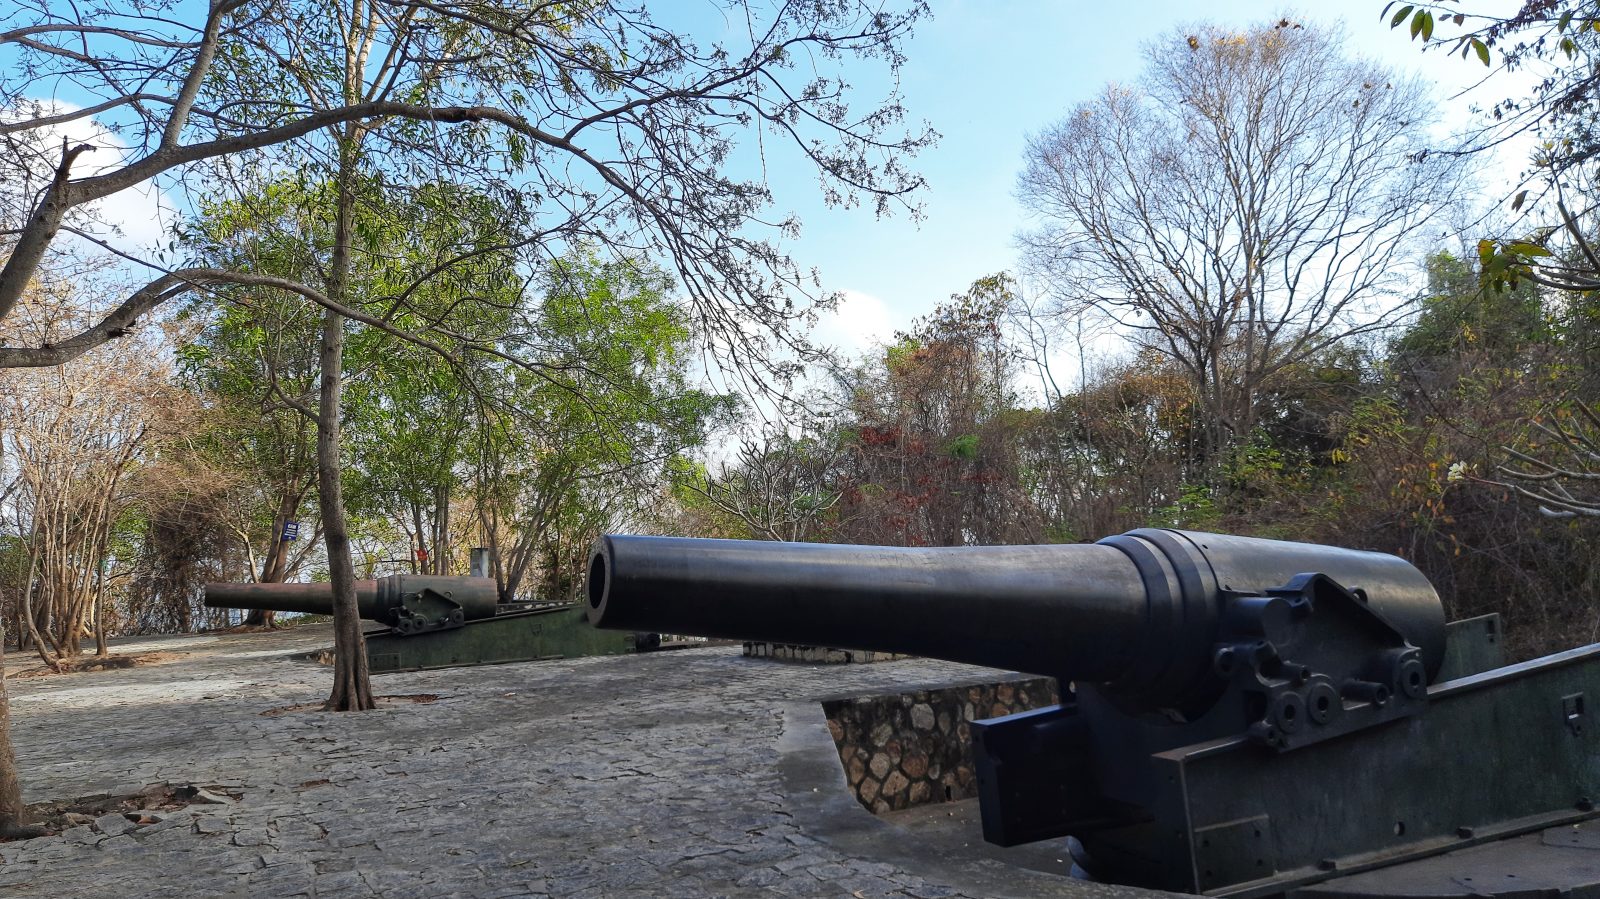
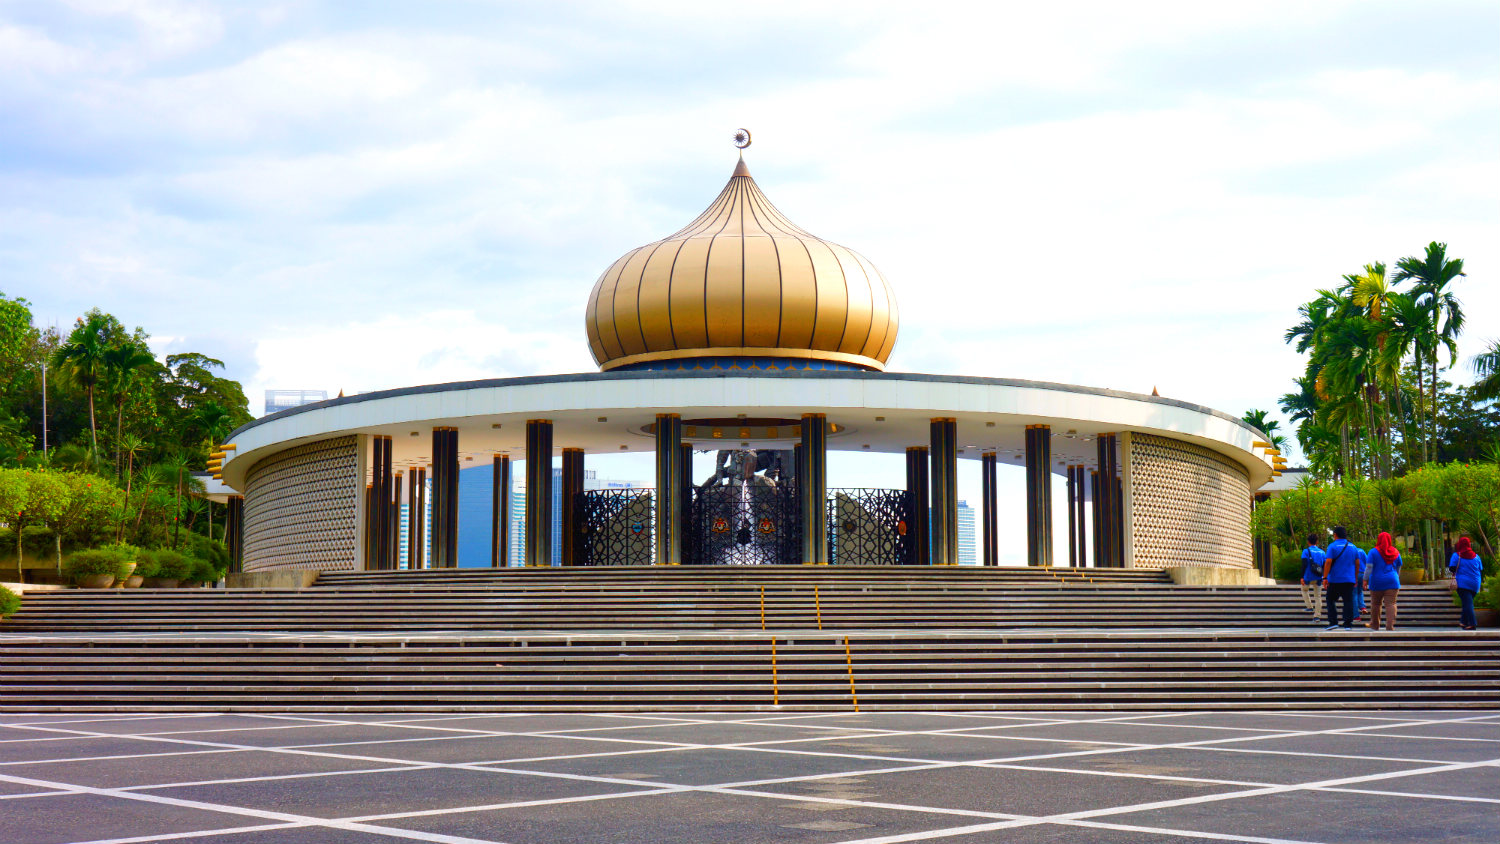
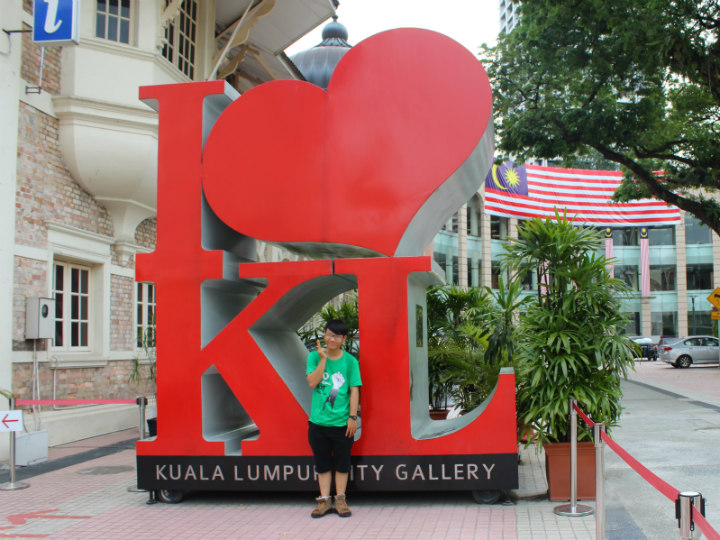
National monument in Kuala Lumpur, and more…
Malaysia’s national monument in Kuala Lumpur (Tugu negara) is a favorite destination of travelers love history and military aspect of the nation. Free entrance ! Why not snap a couple of pictures. Schedule Open Daily: 07:00-18:00 Admission: Free Every year on 31st of July – Warriors Day, the Prime Minister as well as the heads of military and police will pay a visit to the site to honour the heroes of the war. How to get to the national monument in Kuala Lumpur Taxi/Car: take any cabs and tell the driver you heading to Tugu Negara (national monument) and he should get you there at no more than RM20 from any starting point in the capital…
-
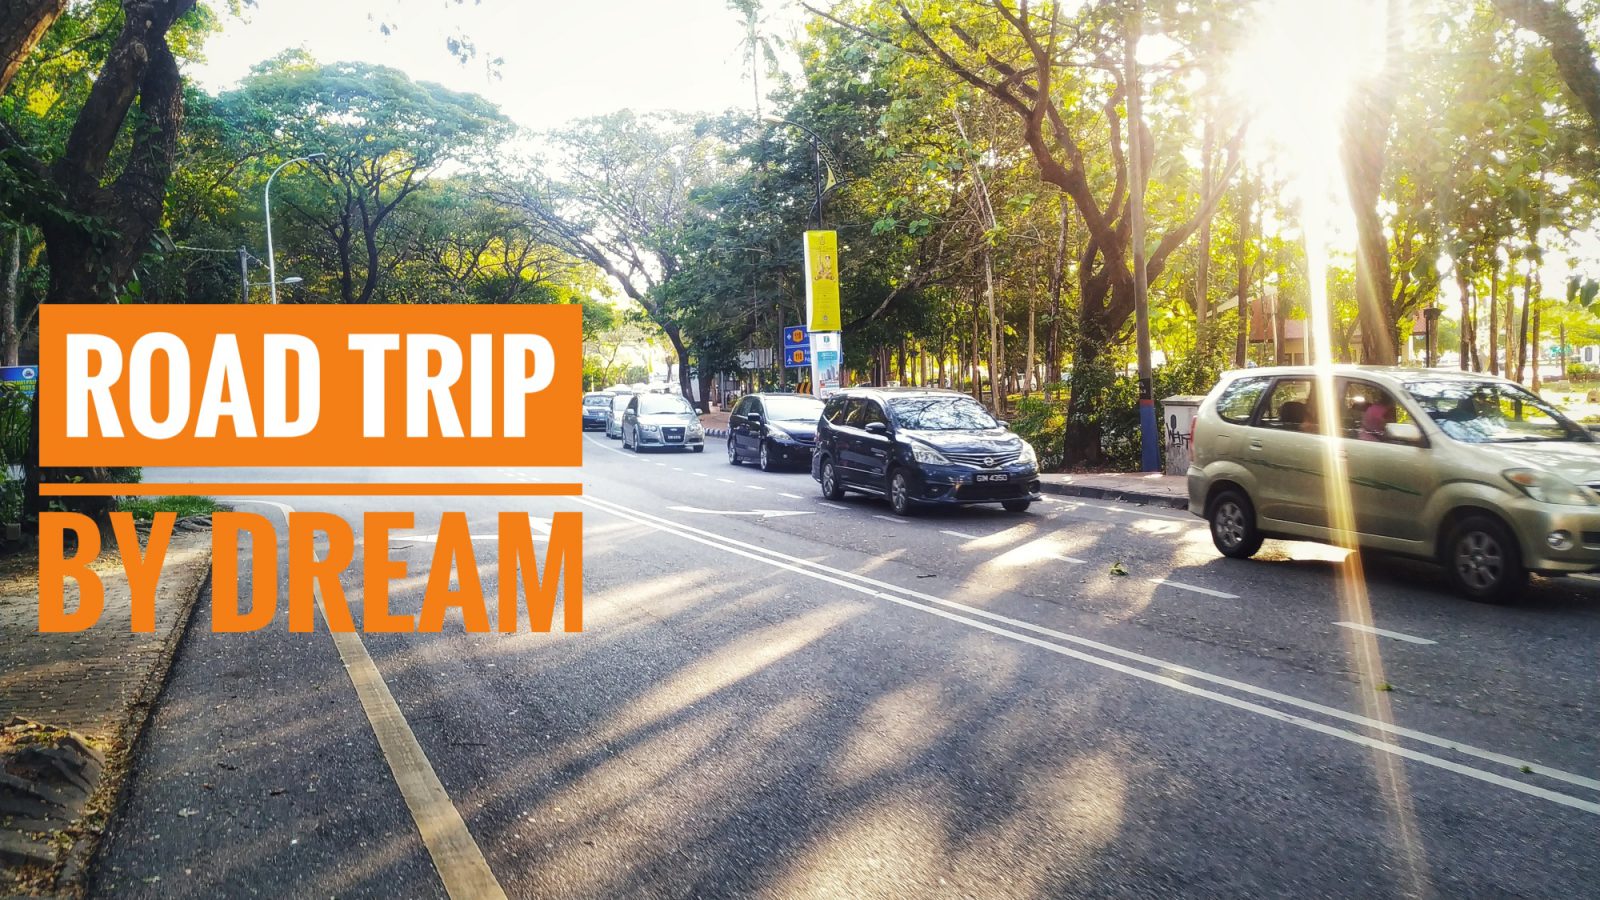
Backpacking Malaysia on a budget
Backpacking Malaysia is an amazing experience, and this is useful tips I draw from my first trip to the Muslim country in Southeast Asia. Transportation Airplane – AirAsia is a Malaysian low-price airline, so that it should be the first consideration to “hunt” for cheaper tickets. Ticket price approximately ranges from 1 million to 1.5 millions vnd as your luck. – VietjetAir sometimes also sells tickets abroad at the price of 0 vnd. This airline tickets to Malaysia usually cost about 1.5 to 1.7 millions vnd. Notice: These prices include toll, tax, and visa fee. Bus During this journey, I mainly used bus to move from airport to city center…
-
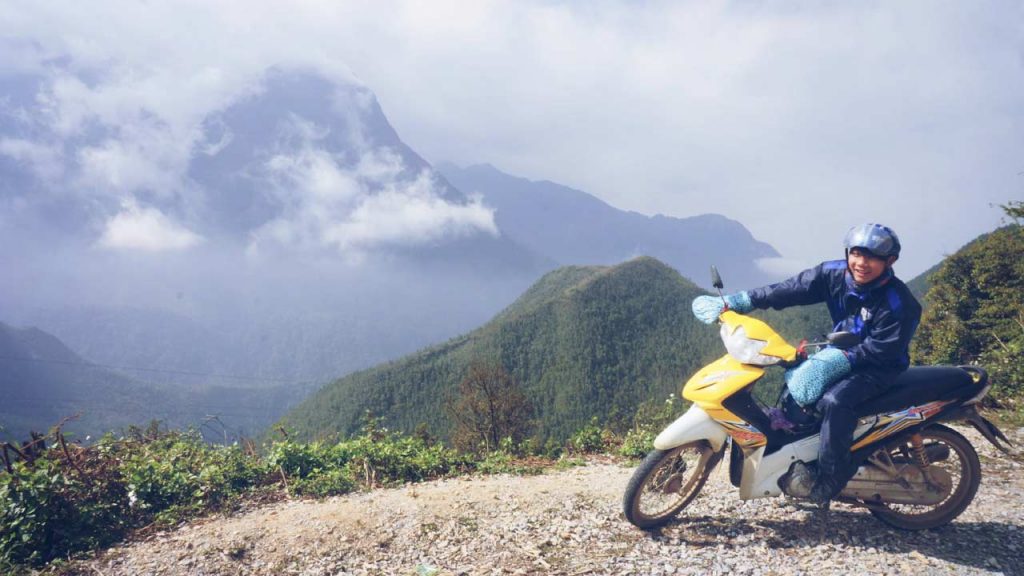
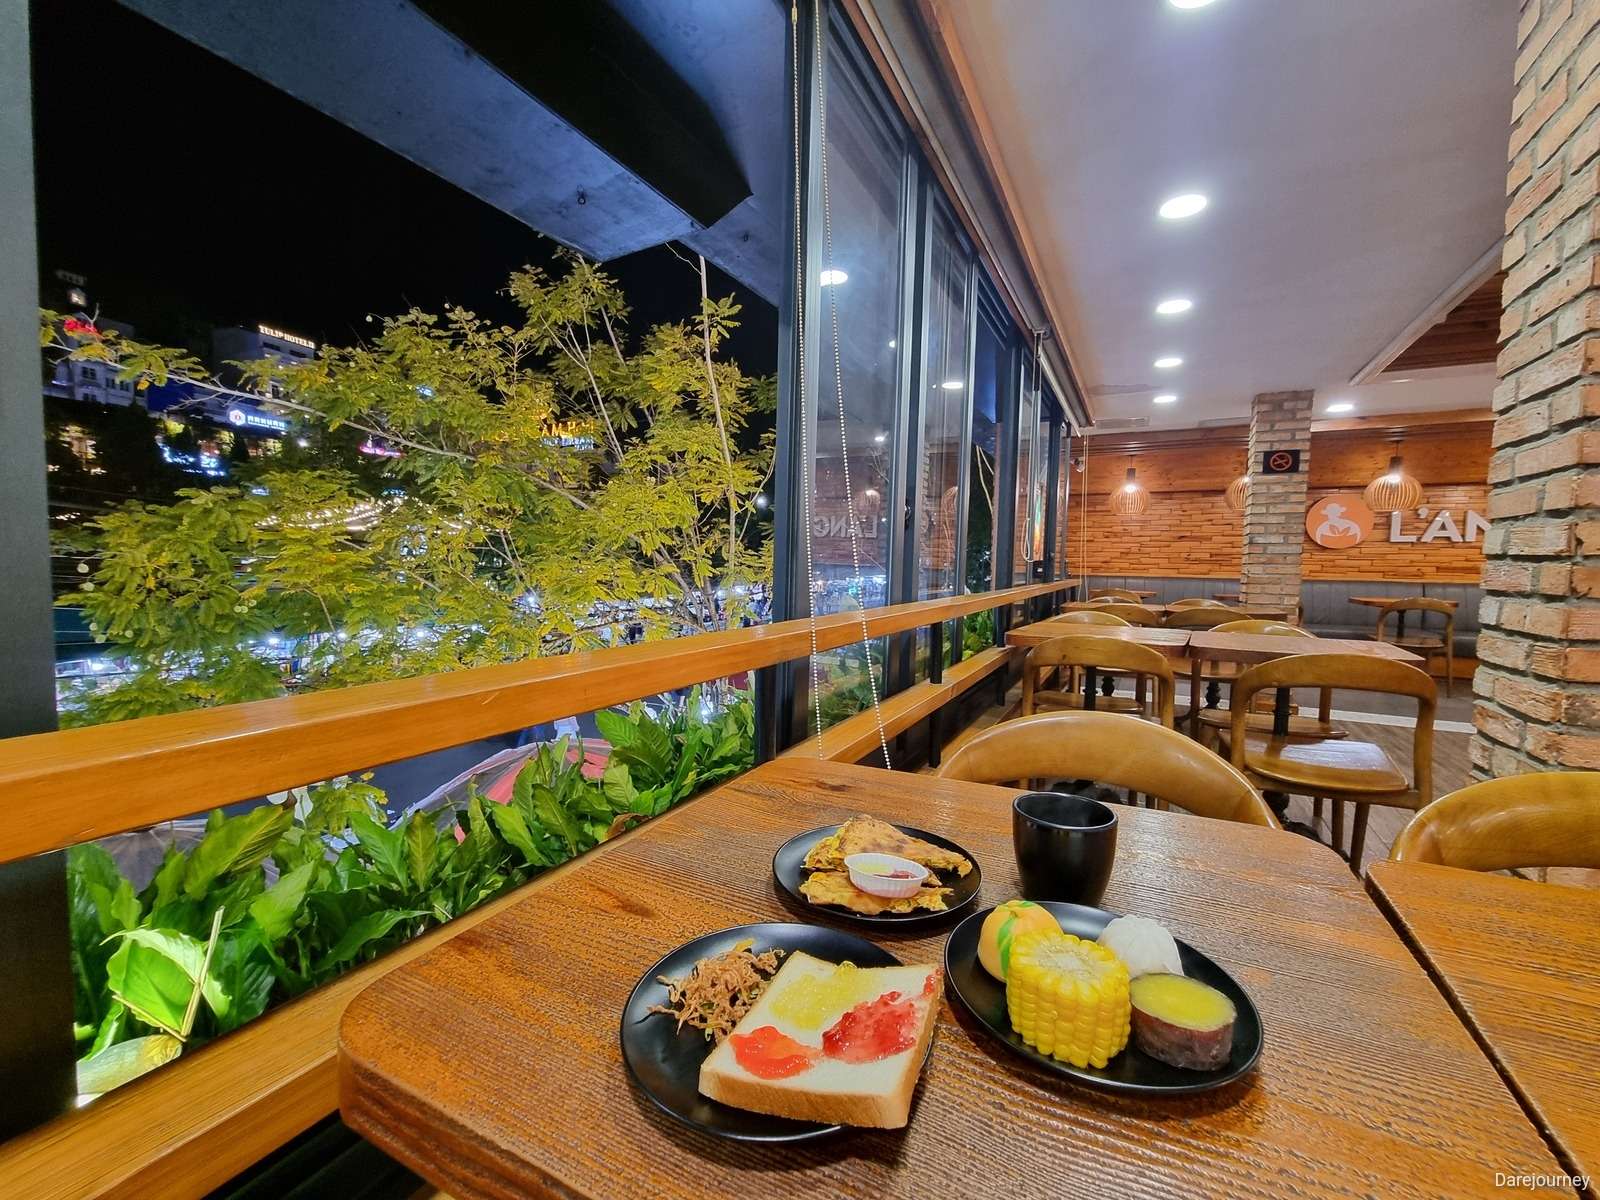
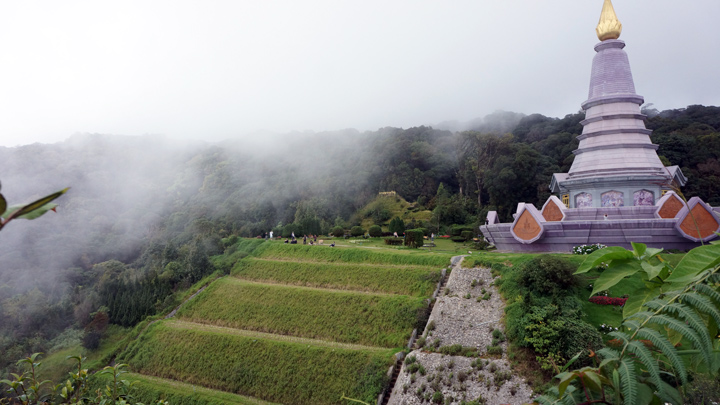
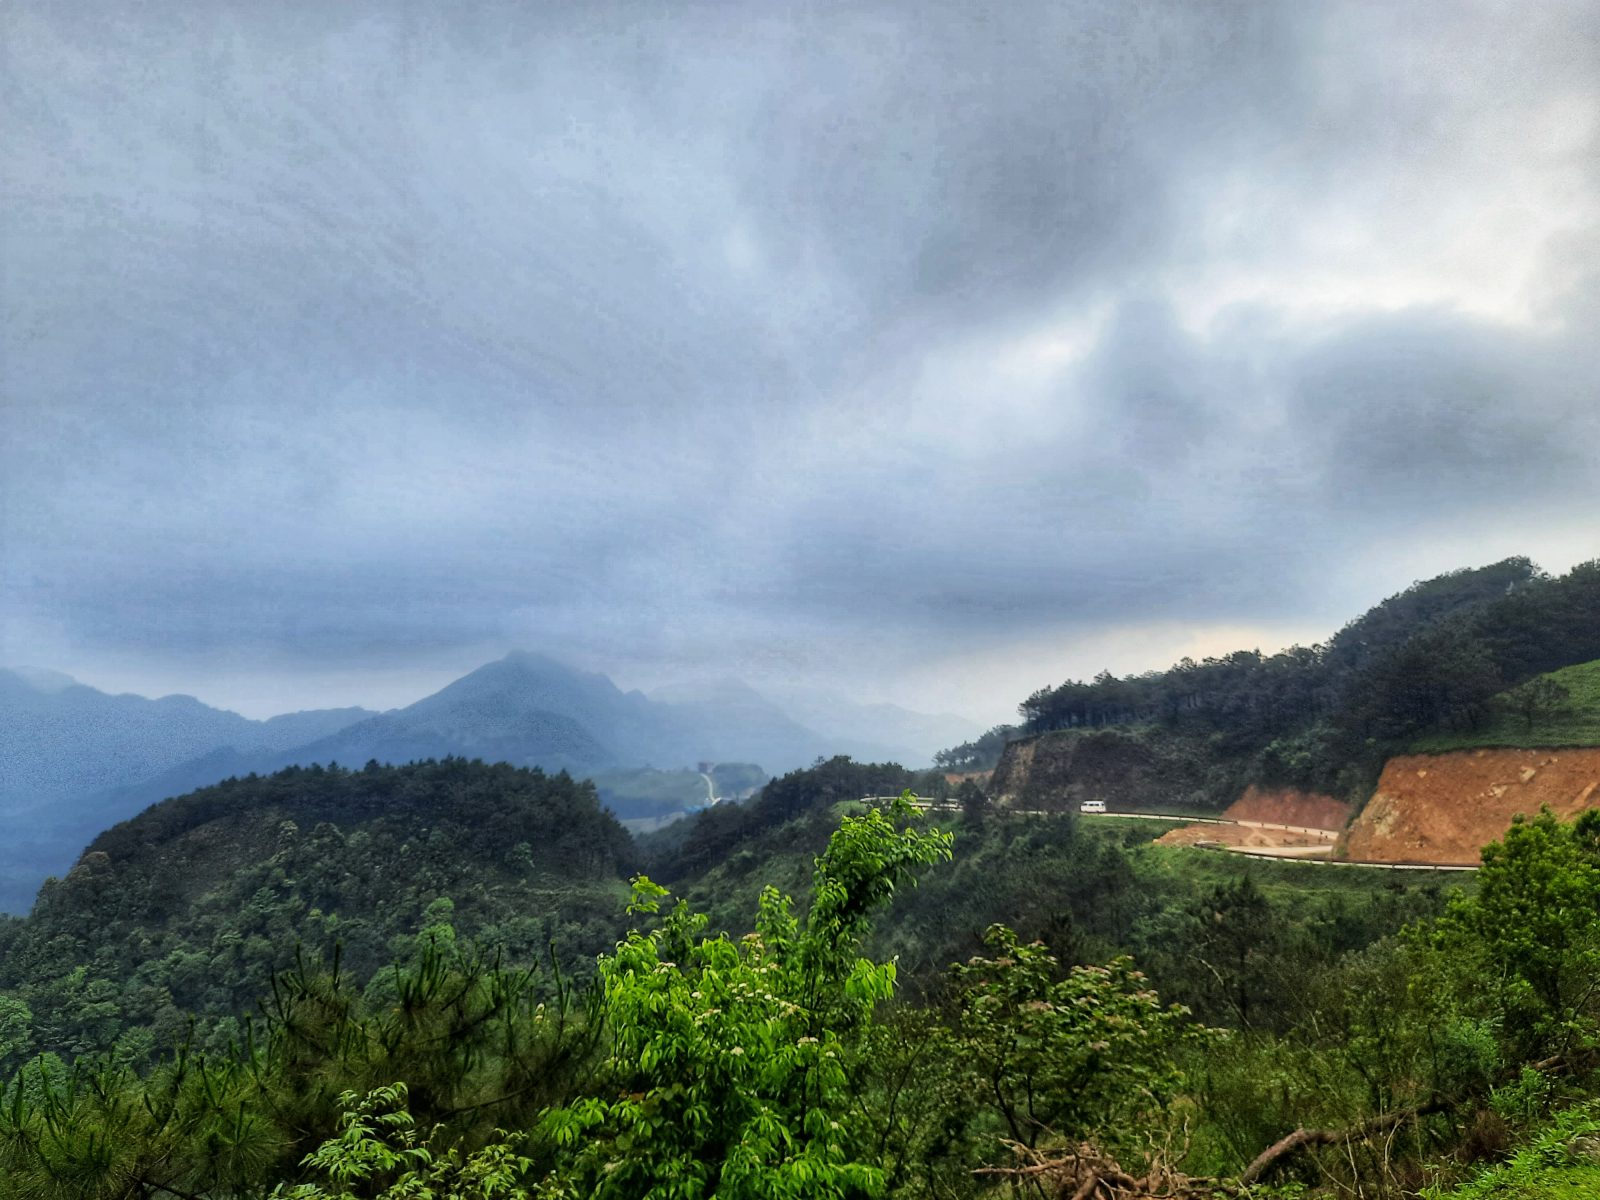
Sapa Travel Guide
First time backpacking Sapa ? My top tips providing useful and in-depth information of get-in, get-around, things to do, food to eat and accommodation tips. Get-in You can ride to Sapa, however, most of backpackers reports that it takes them at least 5-7 hours and the road is quite rough. There’s a high-speed highway, a bus take only 4-5 hour to Lao Cai city and plus 1 hour to Sapa town. So mostly people choose to take overnight bus to the town to take advantage of time. I took Sao Viet bus (789 Giai Phong str. – Hoang Mai, Ha Noi/ 04. 36.686.358). You should book in advance to get…
-
Backpacking essentials: A-Z checklist for your light backpacking
Backpacking essentials a-z checklist provides you an easy-to-remember while still enough helpful for any trips. A – Adapter An electronic device can not work without power, and in some countries, the plug is various, different from ones at home, so a traveler adaptor is very essential. B – Backpack My backpack is my love, and she’s very helpful, as long as she is well-equipped. I don’t think we’re called “backpacker” without a backpack, so choose a right backpack fitting our travel style is very important. My style is ultralight, what about you? C – Camera One of travelling hobby is to have nice photographs so showcase our journey and inspire…
-
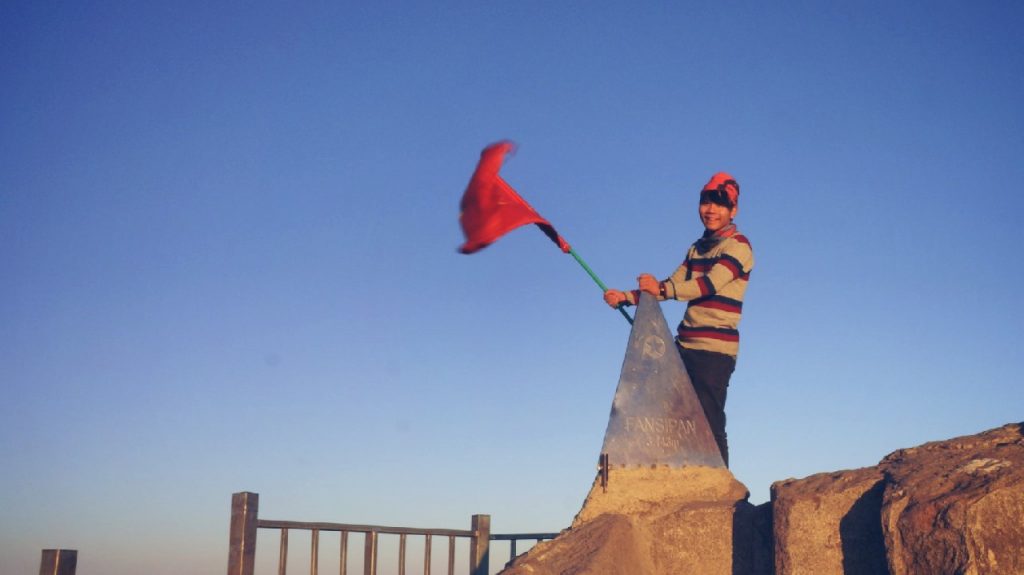
My best 10 backpacking trips
A list of my backpacking trips that I love most and you can also read to get inspired as well as get more tips on destinations mentioned inside posts. Hon Giao Pass night camp I still remember the freezing cold in the morning and a beautiful panoramic view. How satisfied it was! Riding through pass at the previous night was also an experience I won’t ever forget! Fansipan trekking Fansipan summit – the roof top of Indochina, a must-visit destination of almost travellers backpacking southeast asia. I had a wonderful trek with lovely companions, conquering challenges to challenges and finally got breath-taking by the incredible sea cloud at the peak. Days before…
-
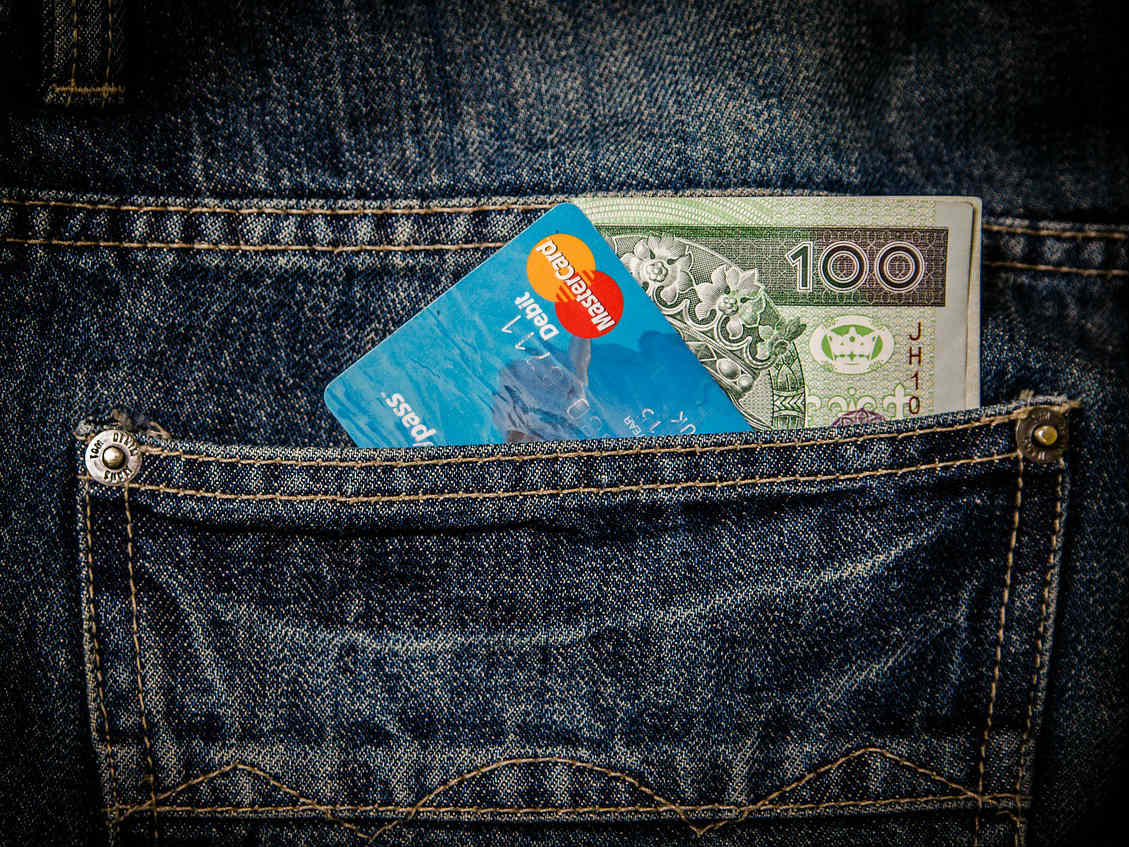
Best budget travel websites for globetrotters
The budget travel website will save you dozen of money on road, even some can help you make some bucks for your next trips. Believe? Travel guide Wikitravel and WikiVoyage are two website you can use instead of buying travel guide books like Lonely planet, Rough guide,… Cheap accommodation For the best last-minute deals on accommodation, remember to search platforms such as Priceline, or Hostelworld to pick up a comfort room at reasonable price. Free? Couchsurfing is a great choice of many travellers around the world. You can stay for free in local homes while chat-chit-ing with them to have more in-depth experience of everything interesting in the host country. Transportation To get started in collecting miles, I suggest…
-
How to make a budget travel itinerary
Hey no-plan travellers, it’s time to make a budget travel itinerary plan. Seriously ? Yes. You want to backpack as many cities as possible within a very tight budget travel? Just make a deal with your plan, it will help you solve most of the problem. So, how to make it? This post is here to help you planning your travel itinerary in step-by-step walk-through. The planning process is a lot like puzzle, taking a lot of trial and error before you complete it. The result is worthy, trust me. Why should I plan an itinerary? I’m a “just do it” fan, yo know! Ok, I used to be like you…
-
When is the Best time to travel – a post you should read to have a good plan.
When is the best time to travel? A tough question but essential! If you travel regularly, you will know that there are three main travel seasons – High Season, Low Season and Shoulder Season. Each has the good and bad points. You should choose best time to travel fitting your time and your goals because it will have an impact on your trips. So at first, how to recognize when is the high/shoulder/low season of a destination? The easiest way to check it is google “best time to travel to ….”. The posts/ articles should mostly point out when is high or low seasons, the “shoulder” is the between them. Another…